[HOW TO FLASH] how to flash Miraclebox Premium Ultra HD
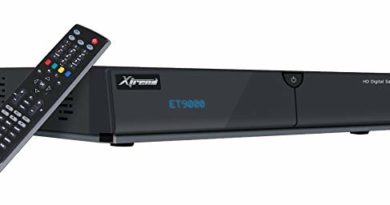
To flash the Miraclebox Premium Ultra HD, you will follow the standard procedure for Broadcom-based receivers. This model is a high-end, multi-tuner box that uses a specific folder name to trigger the update process.
1. Preparation
-
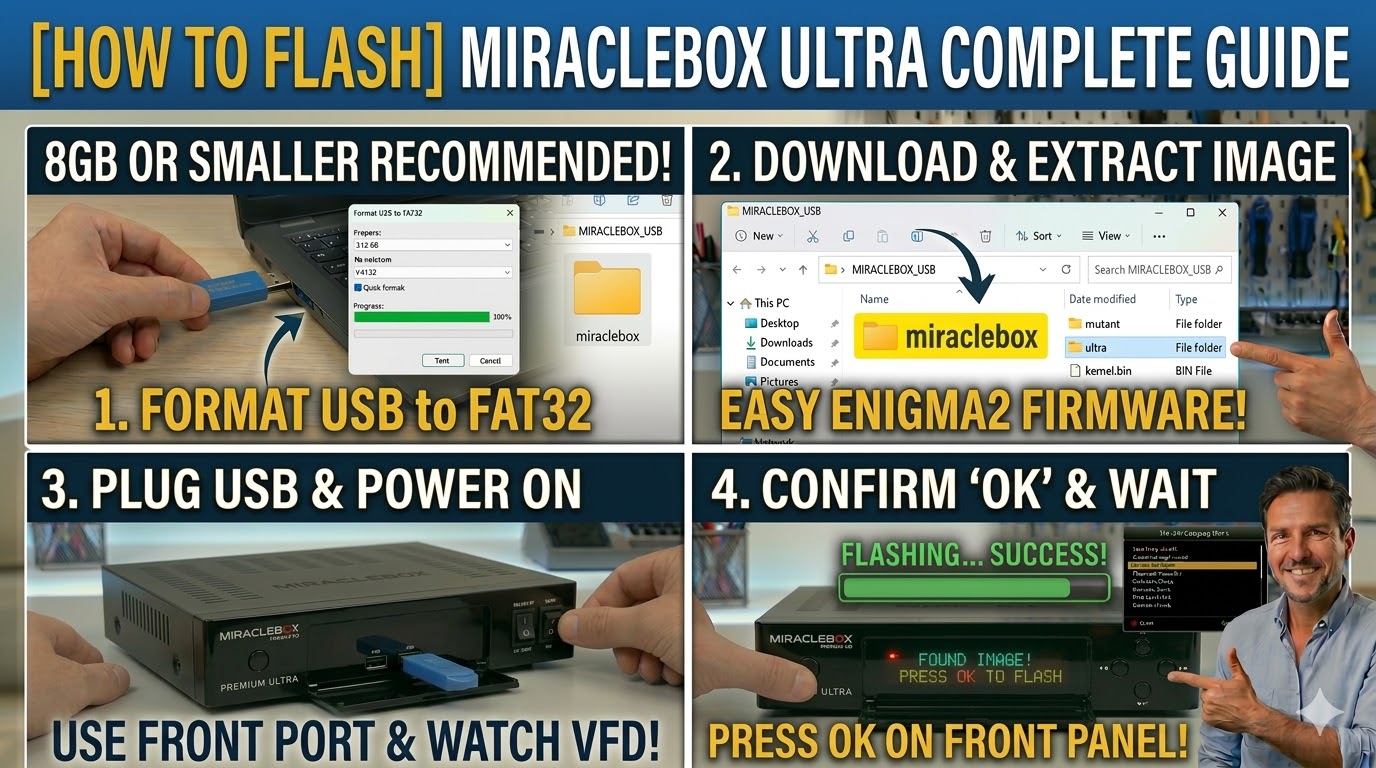
USB Stick: A high-quality USB stick (8GB or smaller is recommended).
-
Format: The stick must be formatted to FAT32.
-
Firmware: Download the image specifically for the Miraclebox Premium Ultra (e.g., OpenATV, Egami, or OpenViX).
2. Folder Structure
The bootloader looks for the manufacturer’s folder on the USB root.
-
Extract the downloaded firmware zip file.
-
You will see a folder named
miraclebox. -
Copy the entire
miracleboxfolder to the root of your USB stick.-
Path:
USB:\miraclebox\ultra\ -
Contents: Inside the
ultrasubfolder, you should see files likekernel.bin,rootfs.bin, andimageversion.
-
3. The Flashing Process
-
Power Off: Turn off the receiver using the power switch at the back.
-
Insert USB: Plug the USB stick into the front USB port (hidden behind the front flap) for the best results.
-
Power On: Turn the back power switch to ON.
-
Initiate Flash:
-
Watch the front panel display.
-
When the receiver detects the files, it will display a message: “Found Image! Press OK to flash.”
-
Quickly press the OK button located on the front panel (behind the flap) to confirm.
-
-
Wait: The display will show the flashing progress. Do not turn off the power.
-
Completion: Once finished, the box will reboot automatically. You can then remove the USB stick.
Pro-Tip for enigma2.net
The Miraclebox Premium Ultra is a robust machine, but its bootloader can be sensitive to USB stick types. If the “Found Image” prompt doesn’t appear, try a different (ideally older/smaller) USB stick. Also, ensure the subfolder is named exactly ultra; if it’s named after a different Miraclebox model, the flash will fail.