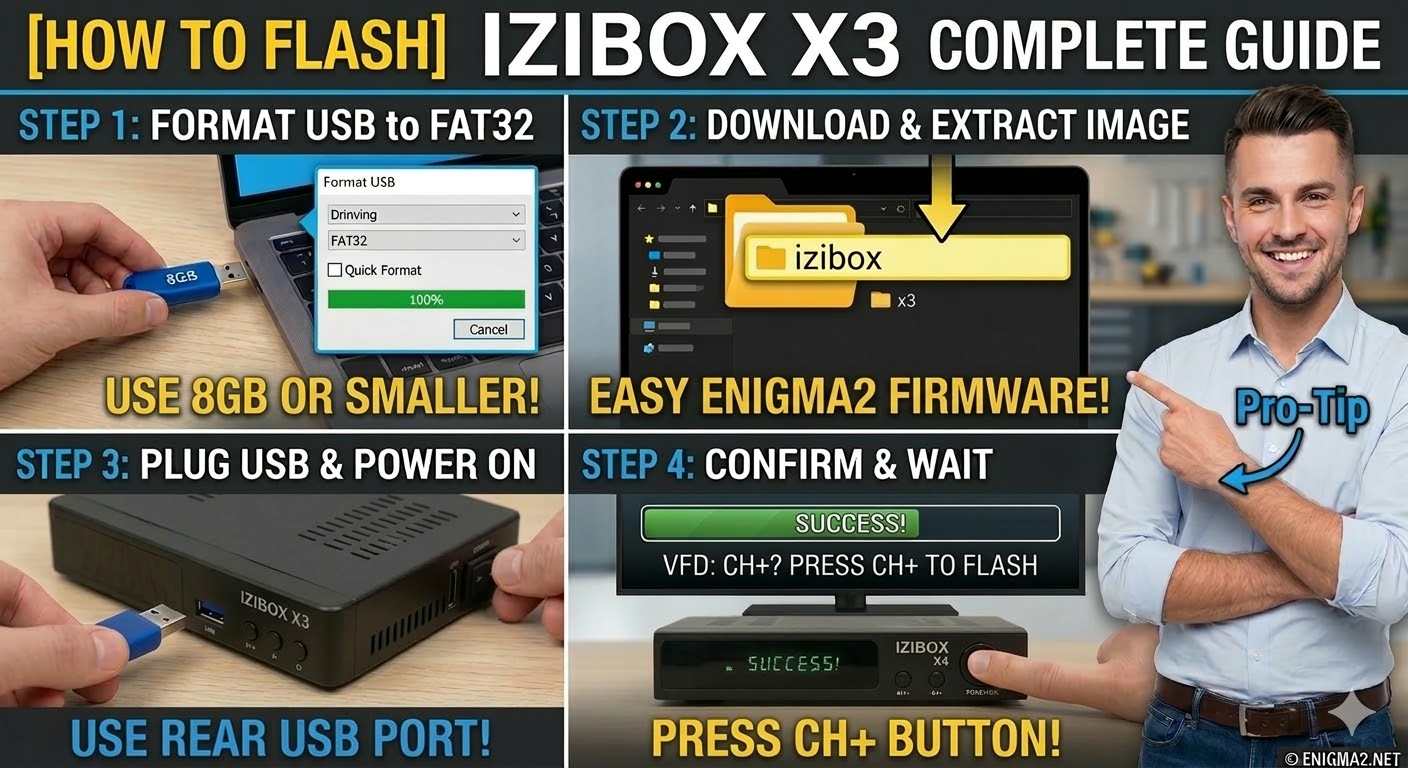
[HOW TO FLASH] how to flash IZIBOX X3

To flash the IZIBOX X3, you will follow a procedure very similar to the X4, but with the vital change to the subfolder name. The X3 is a popular Broadcom-based receiver that requires the correct directory structure to trigger the automated flash process.
1. Preparation
-
USB Stick: A high-quality USB 2.0 stick is preferred. 8GB or smaller is recommended for maximum compatibility with the X3 bootloader.
-
Format: The stick must be formatted to FAT32.
-
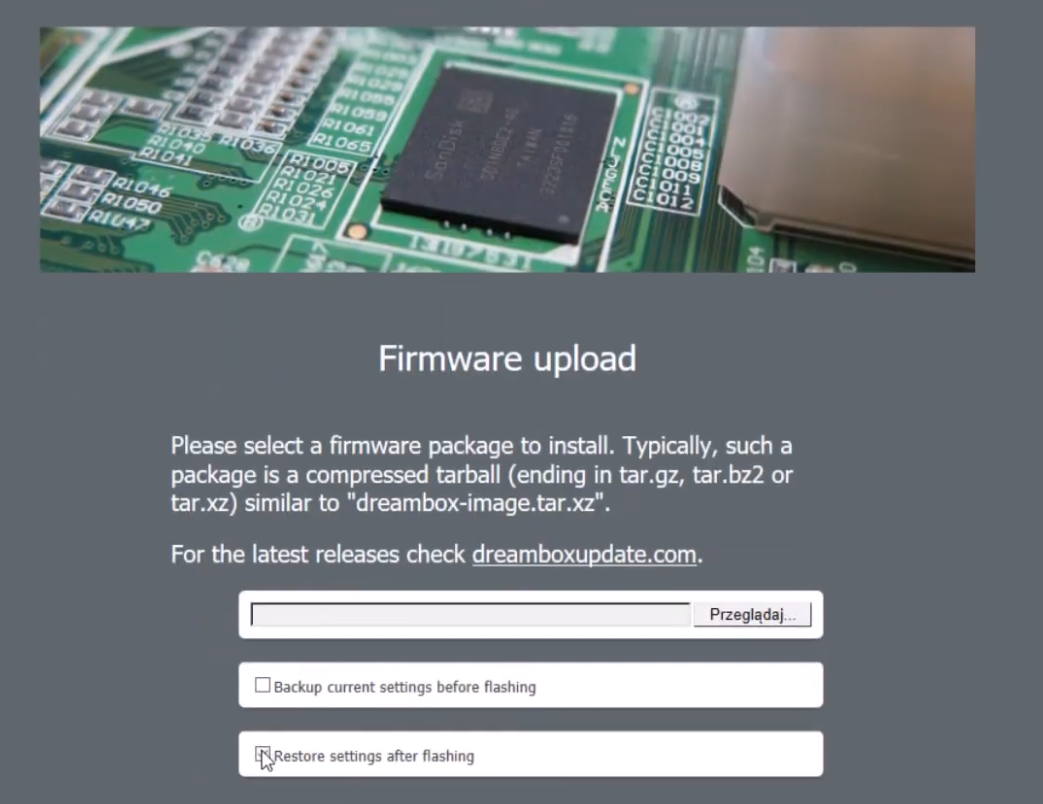
Firmware: Download the image specifically for the IZIBOX X3 (OpenATV, OpenPLi, or PurE2).
2. Folder Structure
The bootloader identifies the update via the izibox directory.
-
Extract the firmware
.zipfile on your computer. -
You will see a folder named
izibox. -
Copy the entire
iziboxfolder to the root of your USB stick.-
Path:
USB:\izibox\x3\ -
Contents: Inside the
x3subfolder, you should see files likekernel.bin,rootfs.bin, andimageversion.
-
3. The Flashing Process
-
Power Off: Turn off the receiver using the power switch at the back (or unplug the power lead).
-
Insert USB: Plug the USB stick into the rear USB port.
-
Power On: Turn the power back ON.
-
Initiate Flash:
-
Watch the front panel LED/display.
-
When the receiver detects the USB, it will display a message such as “USB” or “Press OK”.
-
Quickly press the Power/OK button on the front panel to confirm.
-
-
Wait: The display will indicate progress (e.g., “FLSH”). Do not interrupt the power.
-
Completion: The receiver will reboot automatically once the flash is successful.
Pro-Tip for enigma2.net
The main difference between the X3 and X4 is the folder name (x3 vs x4). If your users try to use an X4 image on an X3, the box will either refuse to flash or fail to boot. Always remind them to double-check their specific model on the front casing before downloading the firmware.