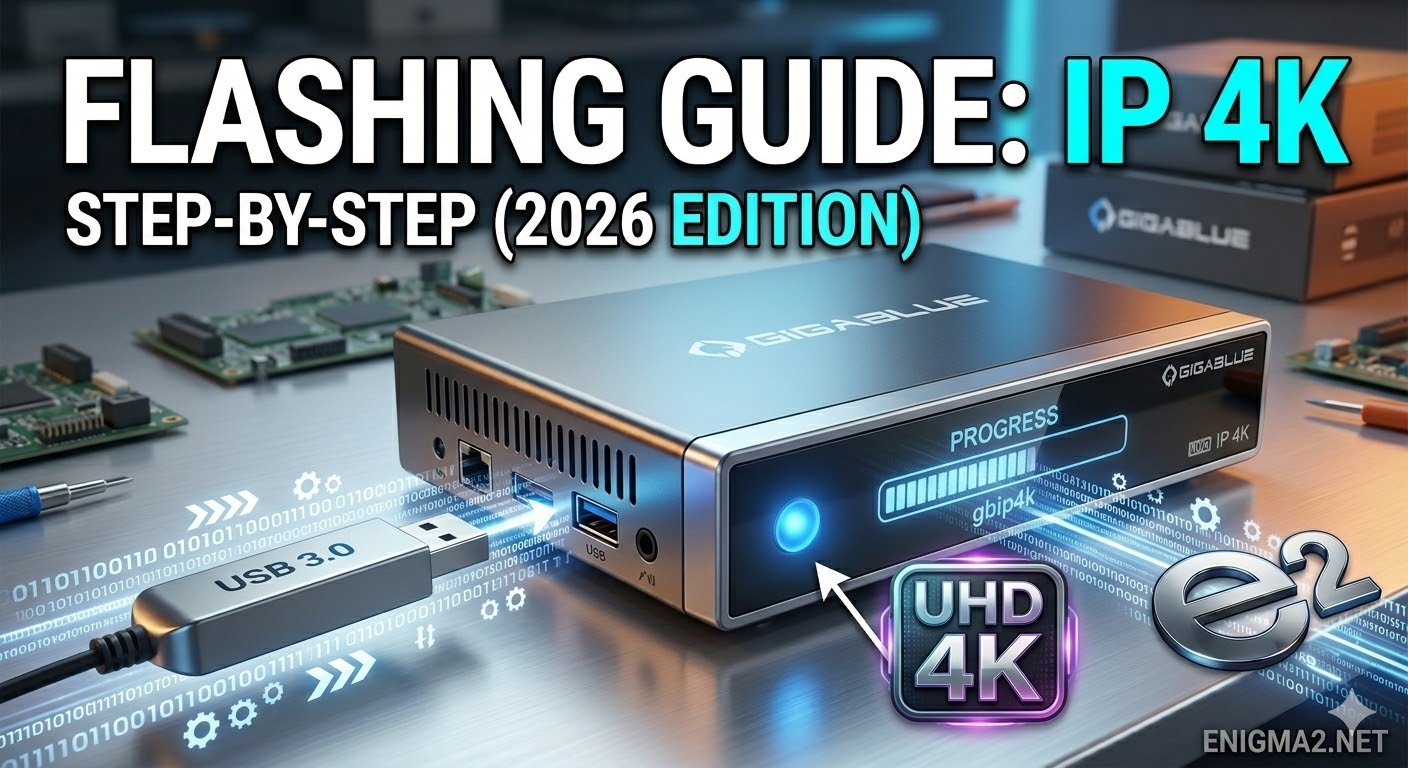
[HOW TO FLASH] how to flash Gigablue IP 4K
Flashen the Gigablue UHD IP 4K is a straightforward USB procedure. Given your familiarity with Enigma2 receivers and your experience on Enigma2.net, this process will feel standard.
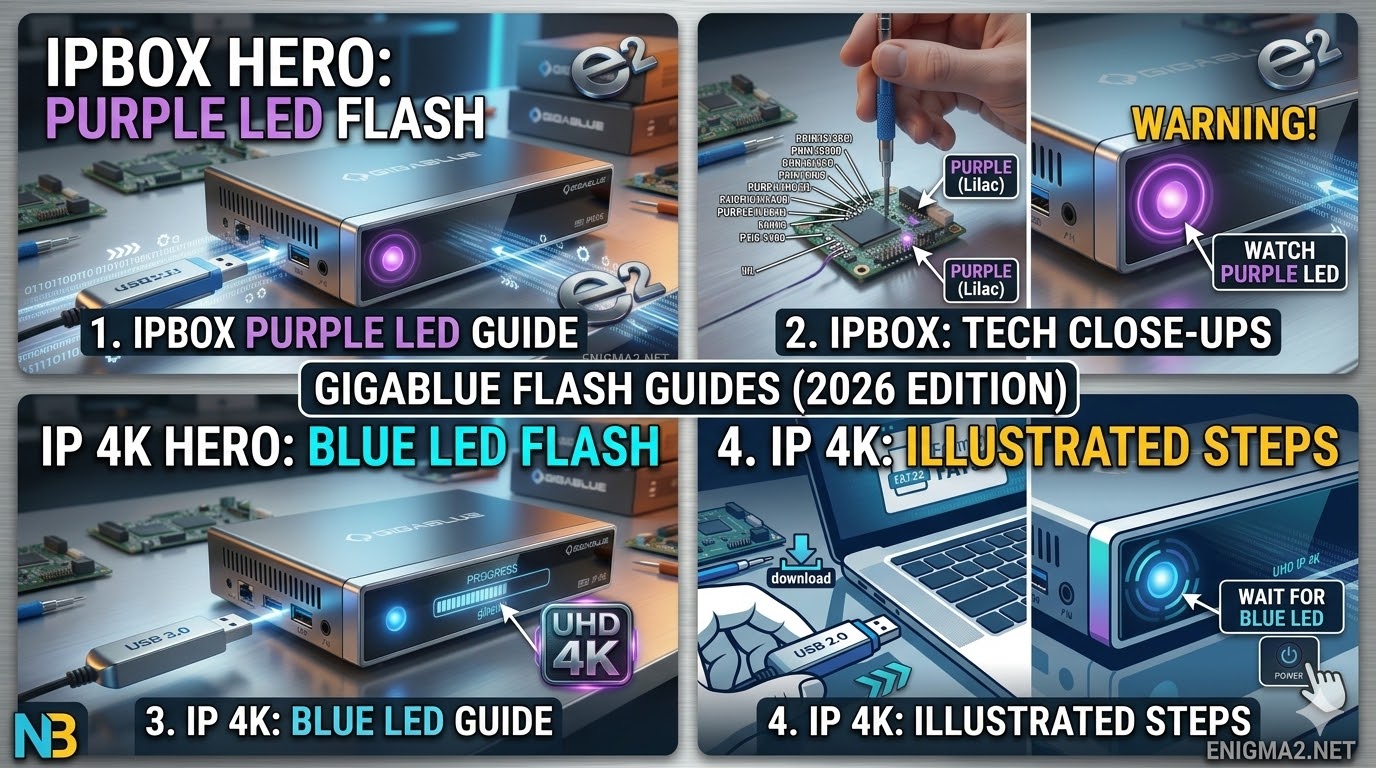
The IP 4K’s procedure is very similar to the IPBOX, but it has one specific difference in how you confirm the flash.
Preparation
-
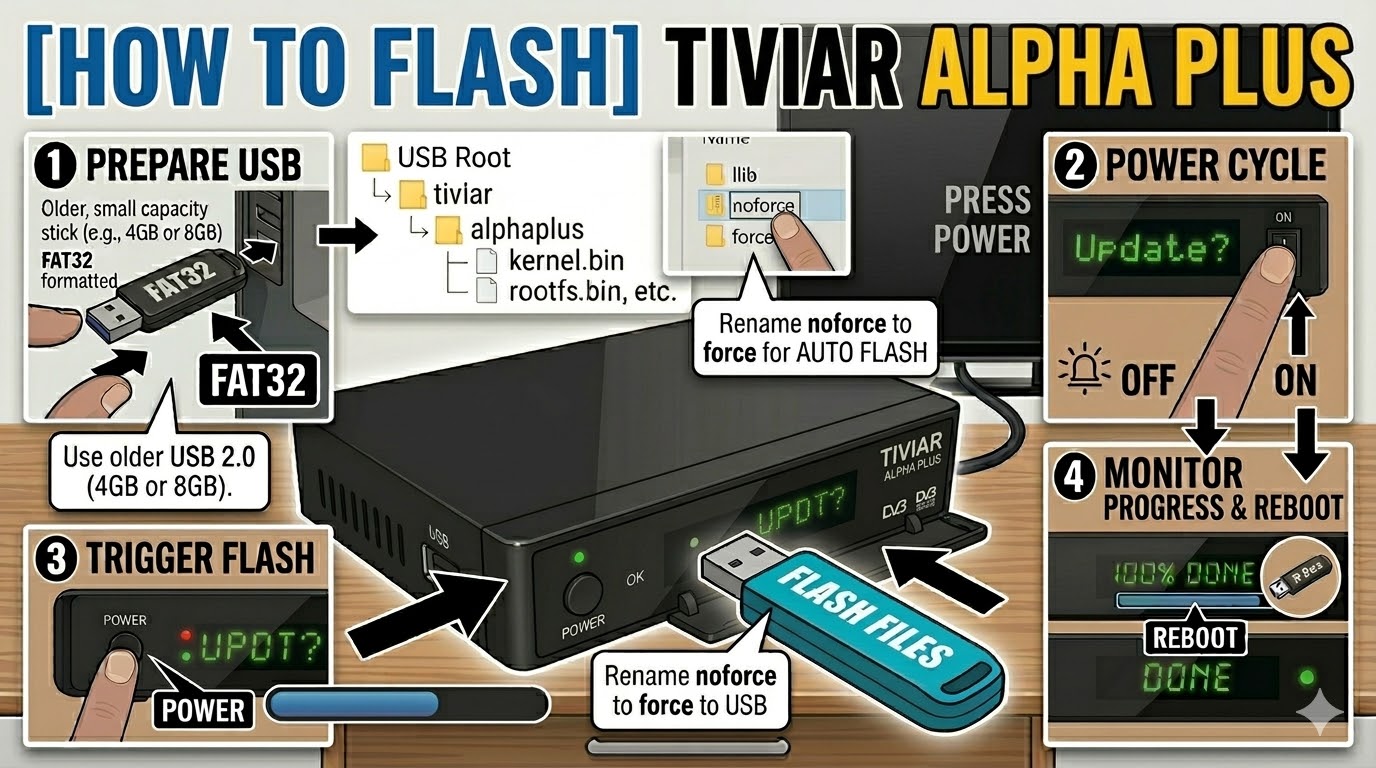
USB Stick: Use a high-quality USB 2.0 or 3.0 stick. A smaller capacity stick (4GB–8GB) often has better compatibility during the boot process.
-
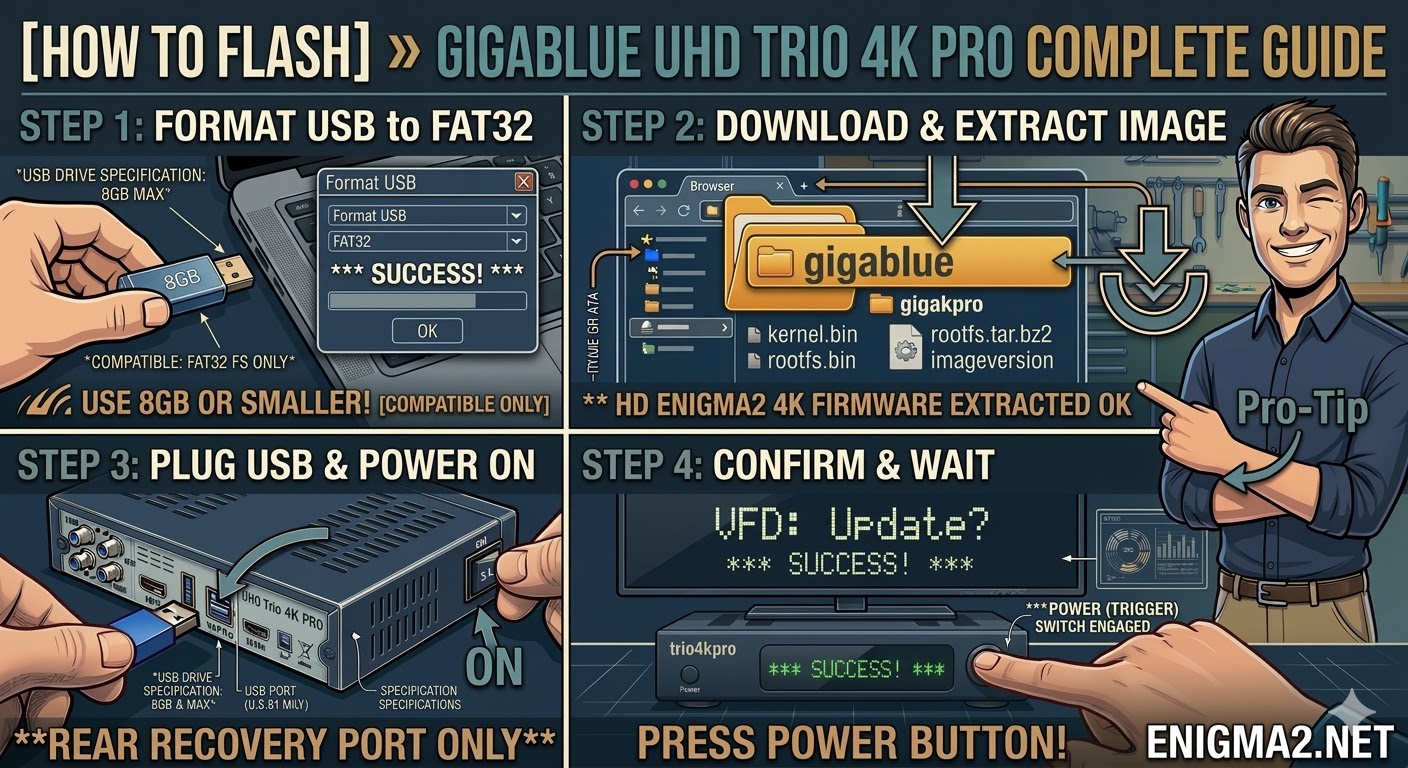
Format: Format the stick to FAT32 using a Full Format (not Quick Format) on your PC.
-
Image: Download your preferred image (e.g., OpenATV, TeamBlue, or OpenViX). Ensure you download the specific version for the “gbip4k.”
-
File Structure: Extract the
.zipfile. You will see a folder namedgigablue. Copy this entire folder to the root of your USB stick.-
Path check:
USB_ROOT:\gigablue\ip4k\...(Thegigabluefolder must not be inside another folder.)
-
Flashing Procedure
| Step | Action | Visual/Feedback |
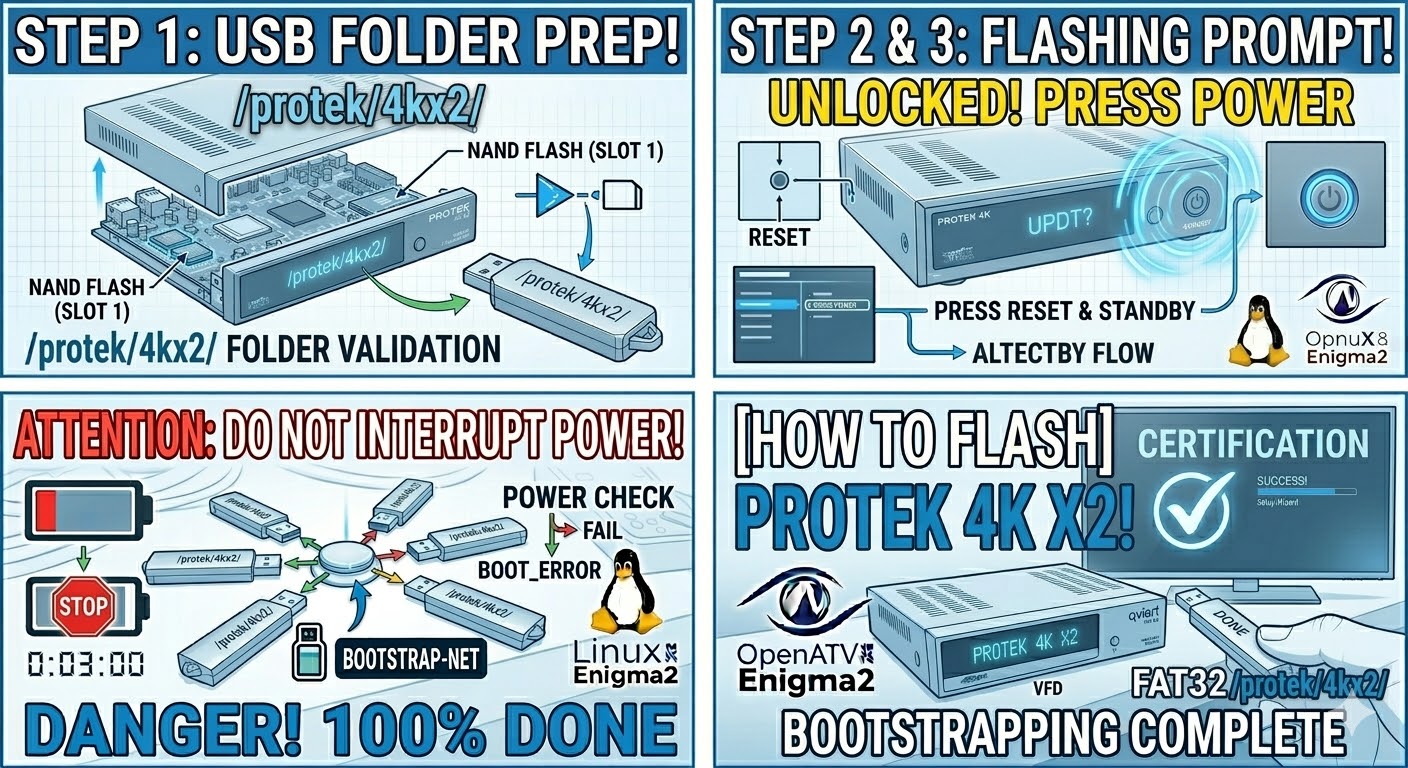
| 1. | Power Off | Fully turn off the receiver using the power switch on the rear panel. |
| 2. | Insert USB | Plug the prepared USB stick into one of the USB ports. (The rear port is recommended for flashing stability.) |
| 3. | Power On | Turn the power switch on the rear panel back on. |
| 4. | Confirm Flash | The box will detect the image on the USB stick. As soon as you see a prompt on your TV screen (or a change in the LED sequence, often rapid blinking), immediately press the Power button located on the front panel. |
| 5. | Progress | The LED will begin to flash rapidly (often Purple/Lilac), indicating that the flashing process is underway. A progress bar may appear on your TV. |
| 6. | Completion | When complete, the box will automatically reboot into the new image startup wizard. You can then remove the USB stick. |
Troubleshooting Tips
-
Box Bypasses the USB: If the box boots normally without prompting to flash, the most common issues are:
-
USB Stick Compatibility: The bootloader is picky. Try a different brand or a smaller USB stick.
-
File Structure: Ensure the
gigabluefolder is in the root directory and contains the correct files for theip4kmodel.
-
-
LED Indications: Pay close attention to the front LED. The pattern changes to signal that it has found the image and is waiting for your confirmation press.
Would you like help finding a specific image download for the IP 4K, such as the latest stable OpenATV build?

The flashing process should take approximately two to four minutes to complete, while the receiver
is being flashed it is vitally important that you DO NOT power the receiver down for any reason as
this can cause serious and or permanent damage.