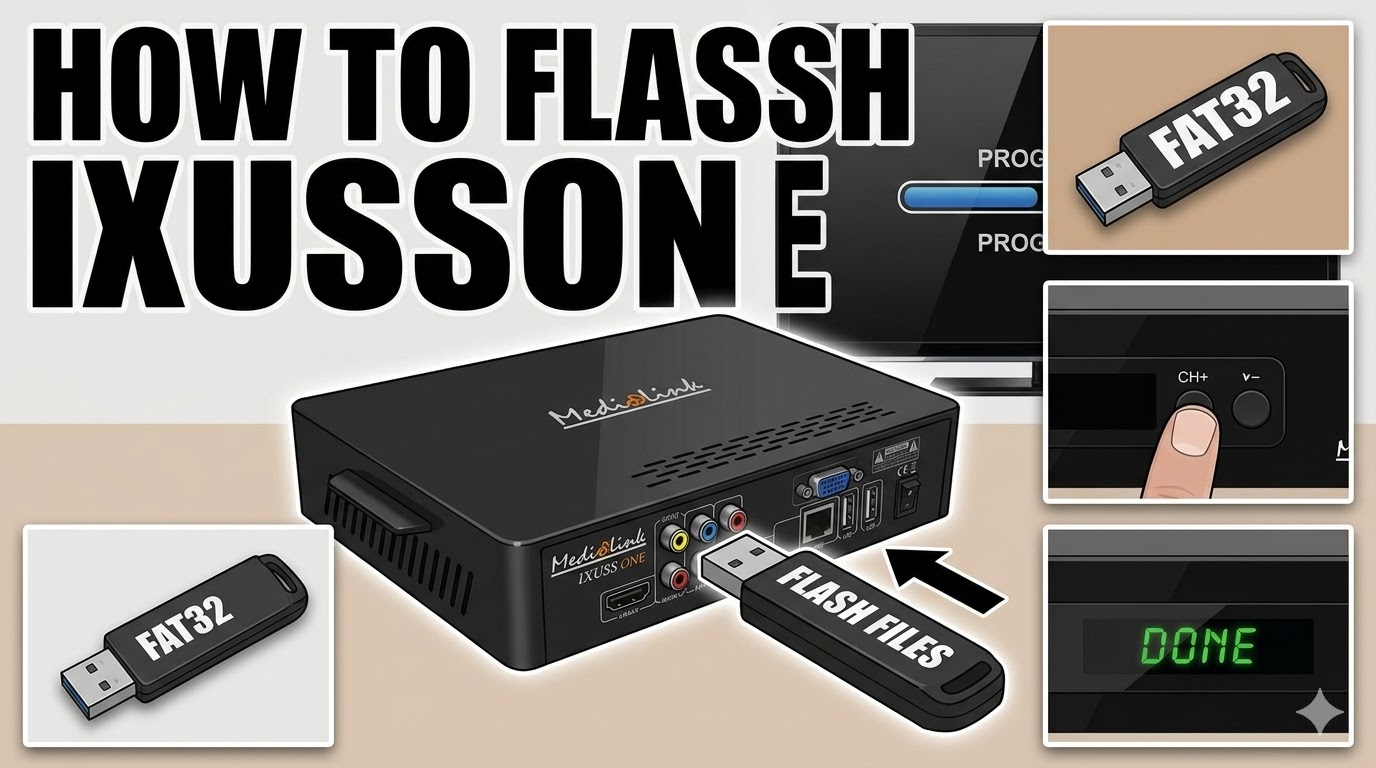
[HOW TO FLASH] how to flash Medialink ixussone
Flashing the Ixuss One (a Medialink Enigma2 receiver) follows the standard procedure for most Broadcom-based Linux receivers.
Preparation
-
USB Stick: Use a high-quality USB stick (preferably 8GB or smaller) formatted to FAT32.
-
Image: Download your preferred Enigma2 image (e.g., OpenATV, OpenViX, or Egami).
-
Folder Structure: Extract the zip file. You should see a folder named
ixussone(or sometimes a nested structure likemedialink/ixussone). Ensure theixussonefolder containing the flash files is at the root of the USB drive.
Flashing Steps
-
Power Down: Turn off the receiver completely using the physical power switch at the back.
-
Insert USB: Plug the USB stick into the rear USB port (this is usually more reliable for flashing than the front port).
-
Power On: Switch the receiver back on while watching the front panel display.
-
Initiate Flash: * When the display shows a message like “CONF” or “USB”, or asks if you want to upgrade, press the CH+ (Up) button on the front panel of the receiver.
-
If it doesn’t prompt you, some versions require holding the Power button on the front panel while switching on the rear power until the flashing message appears.
-
-
Wait: The display should change to “PROG” or “UPGRADING”. Do not turn off the power during this time.
-
Finish: Once the process is complete, the display will usually show “DONE” or “REBOOT”. Remove the USB stick and the receiver will automatically restart into the new image setup wizard.
Troubleshooting
-
Not Detecting USB: If the box boots normally to the old image, try a different USB stick. These older receivers can be very picky about USB brands and sizes.
-
File Path: Ensure the files are not double-foldered. The structure should be:
USB Drive -> ixussone -> (bin/image files).
Would you like me to generate a thumbnail image for this “How to Flash” guide for your website?