
[TUTO] How to setup picons on OpenTS 11.X (Dreambox)
Here is an image tutorial that shows you how to install and configure picons on Dreambox decoders under a OpenTS image.
N.B: This tutorial is valid for all versions of OpenTS image 10.X and 11.x
Material:
A Dreambox decoder (Dreambox 920, Dreambox 7080, Dreambox 520/525).
Winscp for WINDOWS
![]()
PICONS 440 × 220 for satellite
![]()
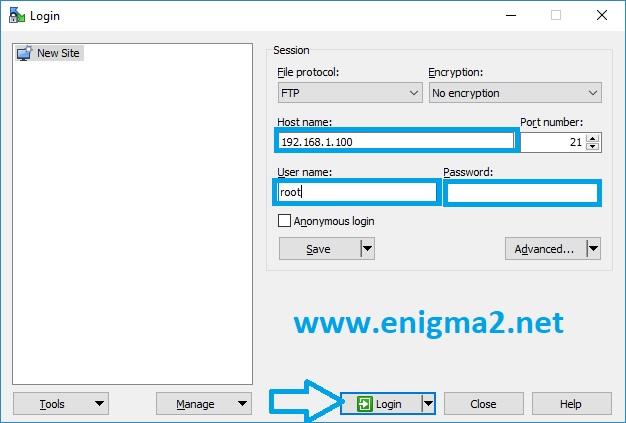
– Launch WINSCP in the home window
File protocol: FTP
Hot name: 192.168.1.100 (ip address of your DREAMBOX )
User name: root
Password: “empty” by default the root password in OpenTS image is empty (no password needed)
After clicking on Login
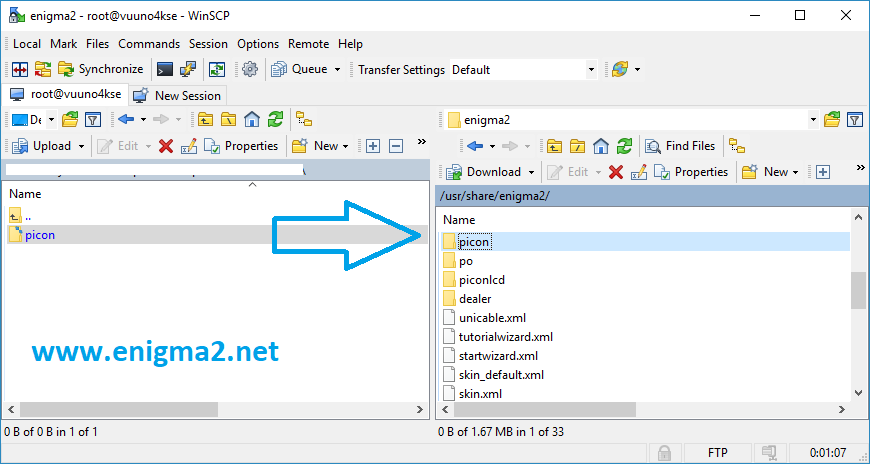
Unpack the Picon ASTRA 220 × 132 file
Select the picon folder and drag between the two windows to the /usr/share/enigma2 folder.
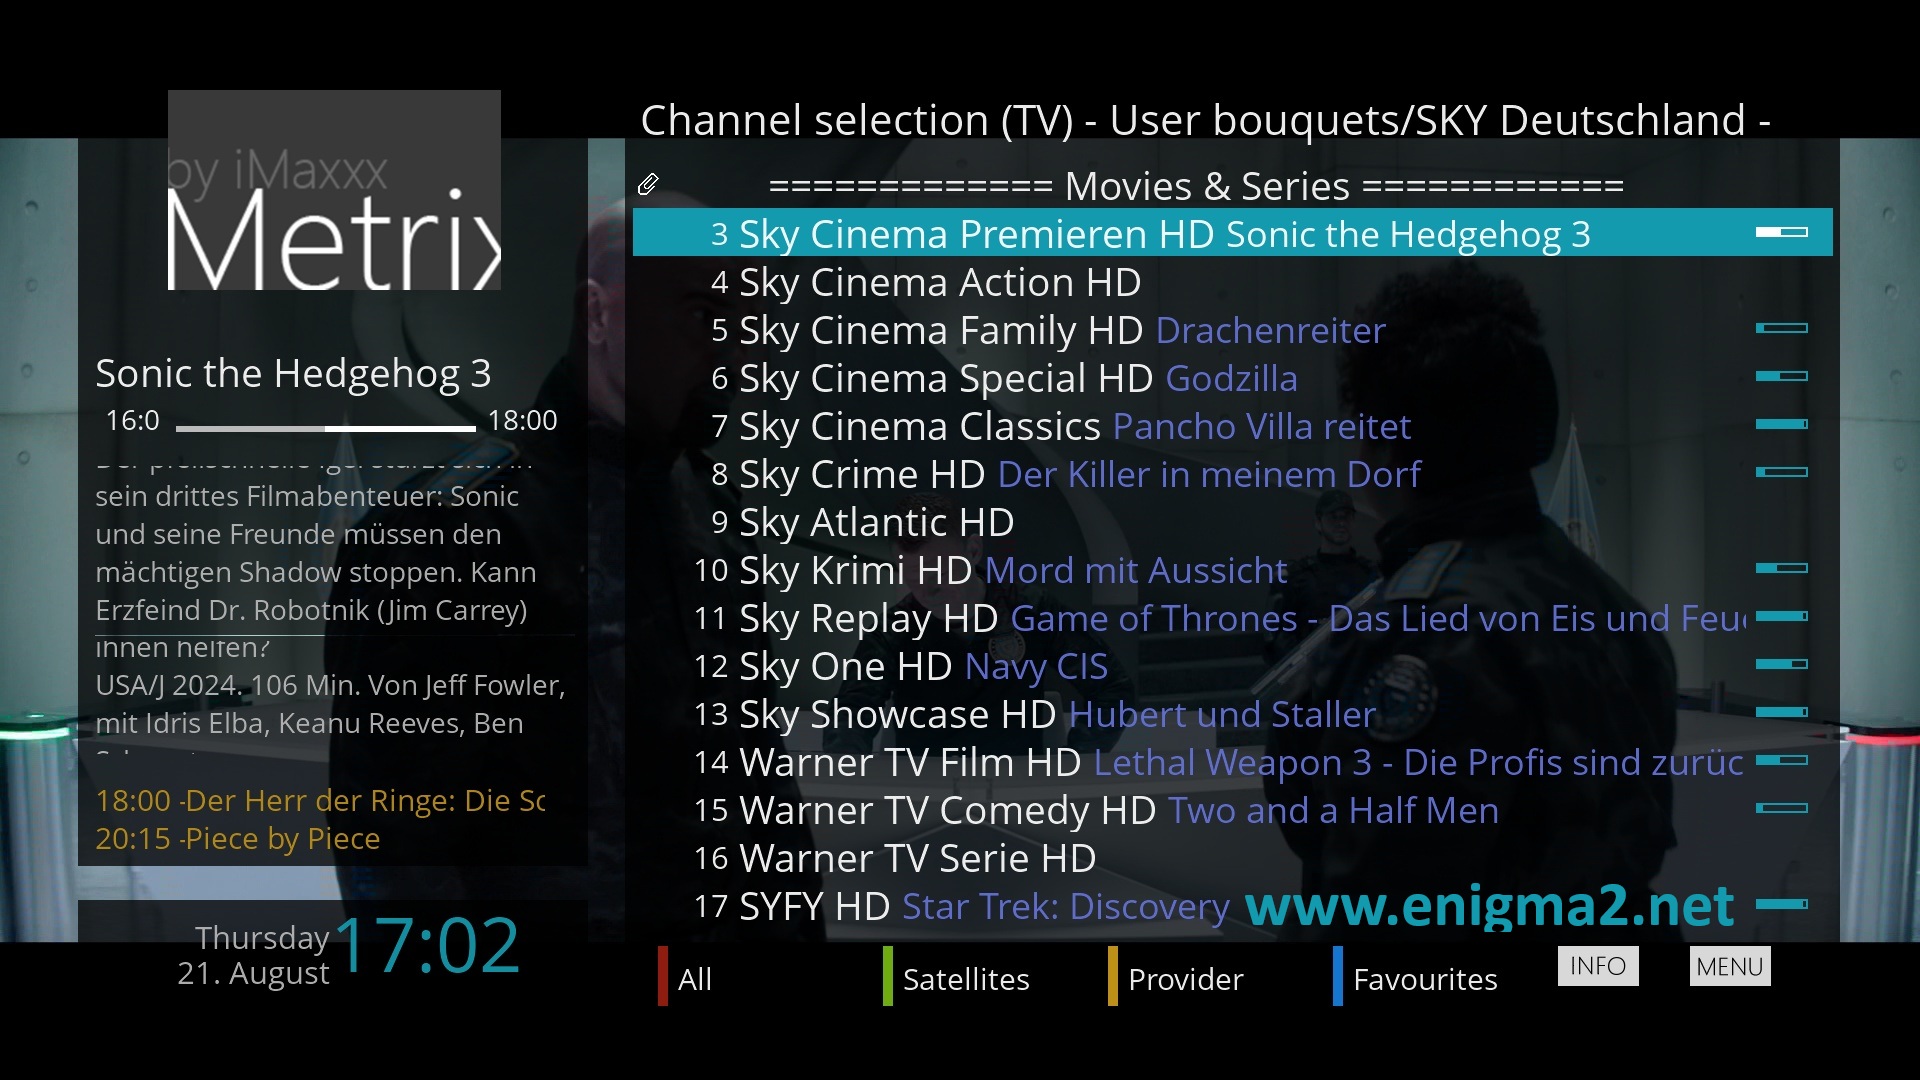
sho playlist with your remote control and press MENU
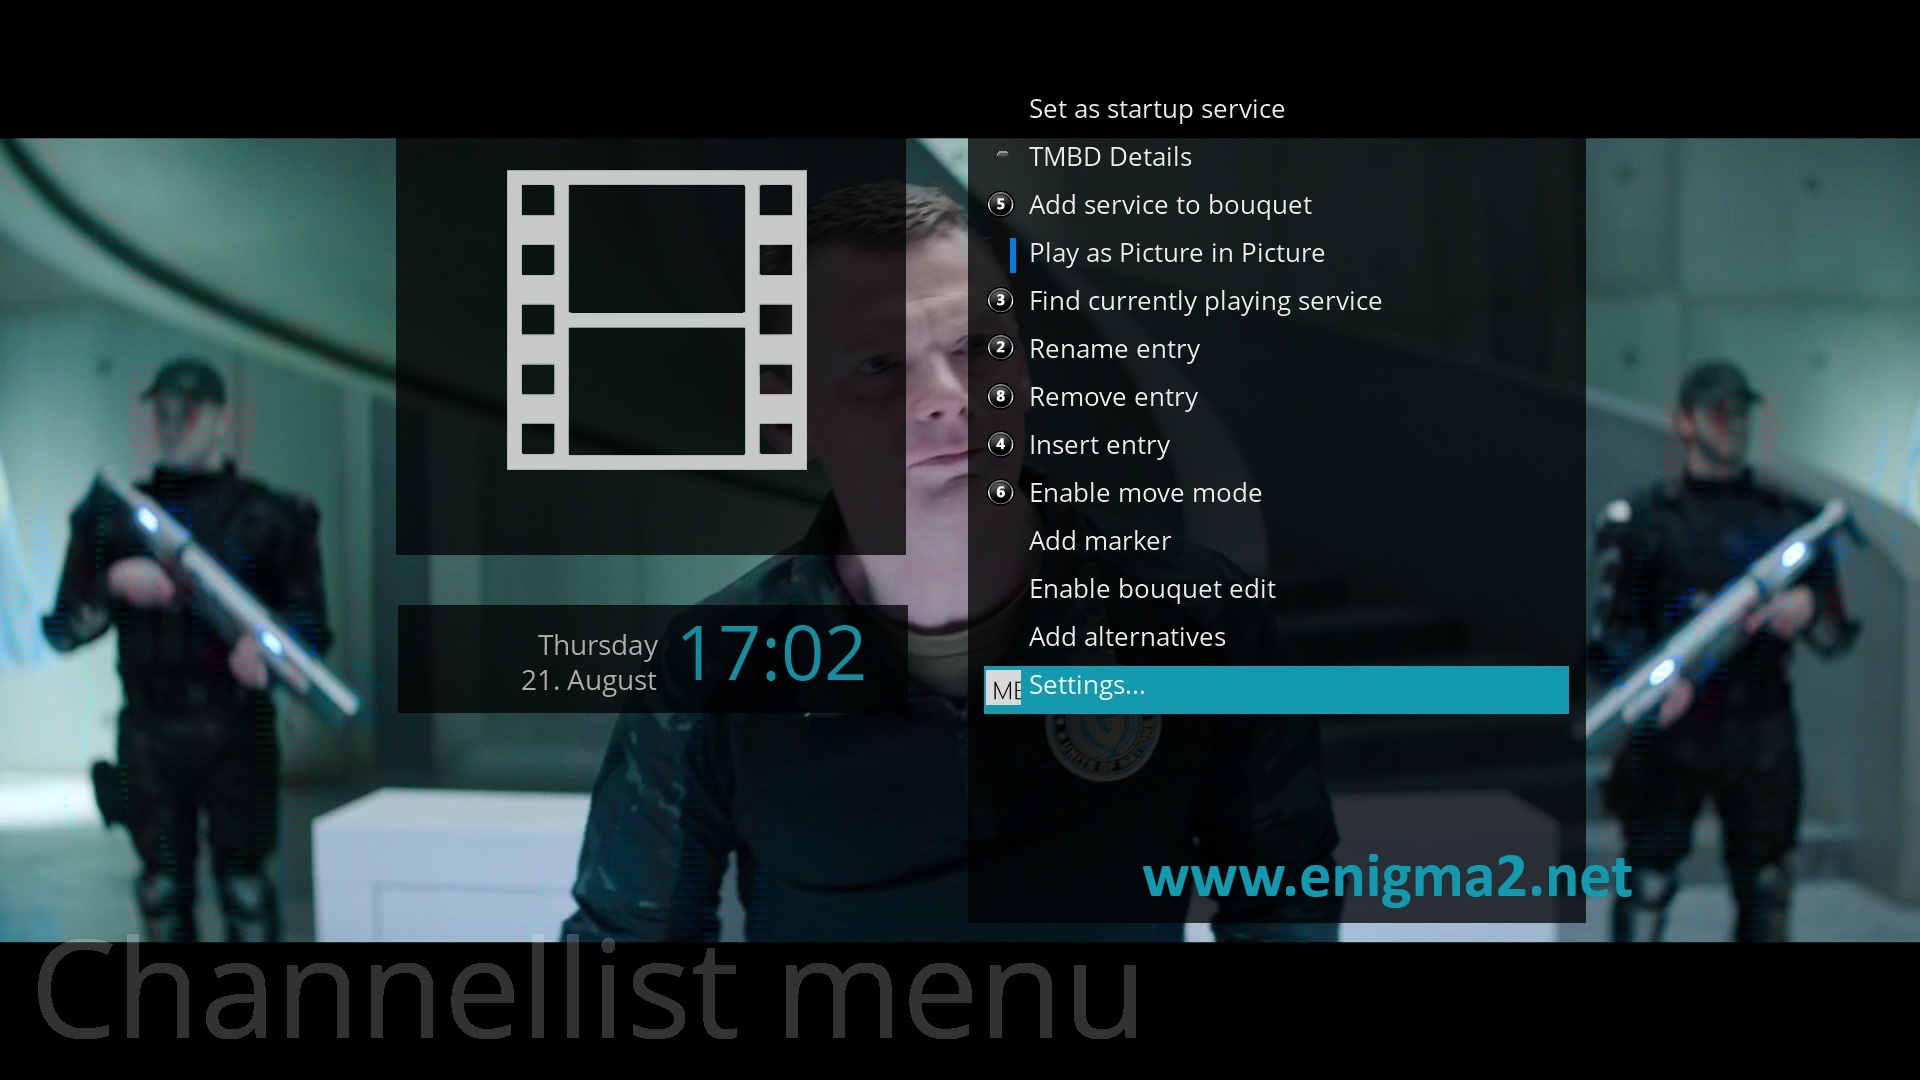
Choose SETTIINGS
enable 3 lines
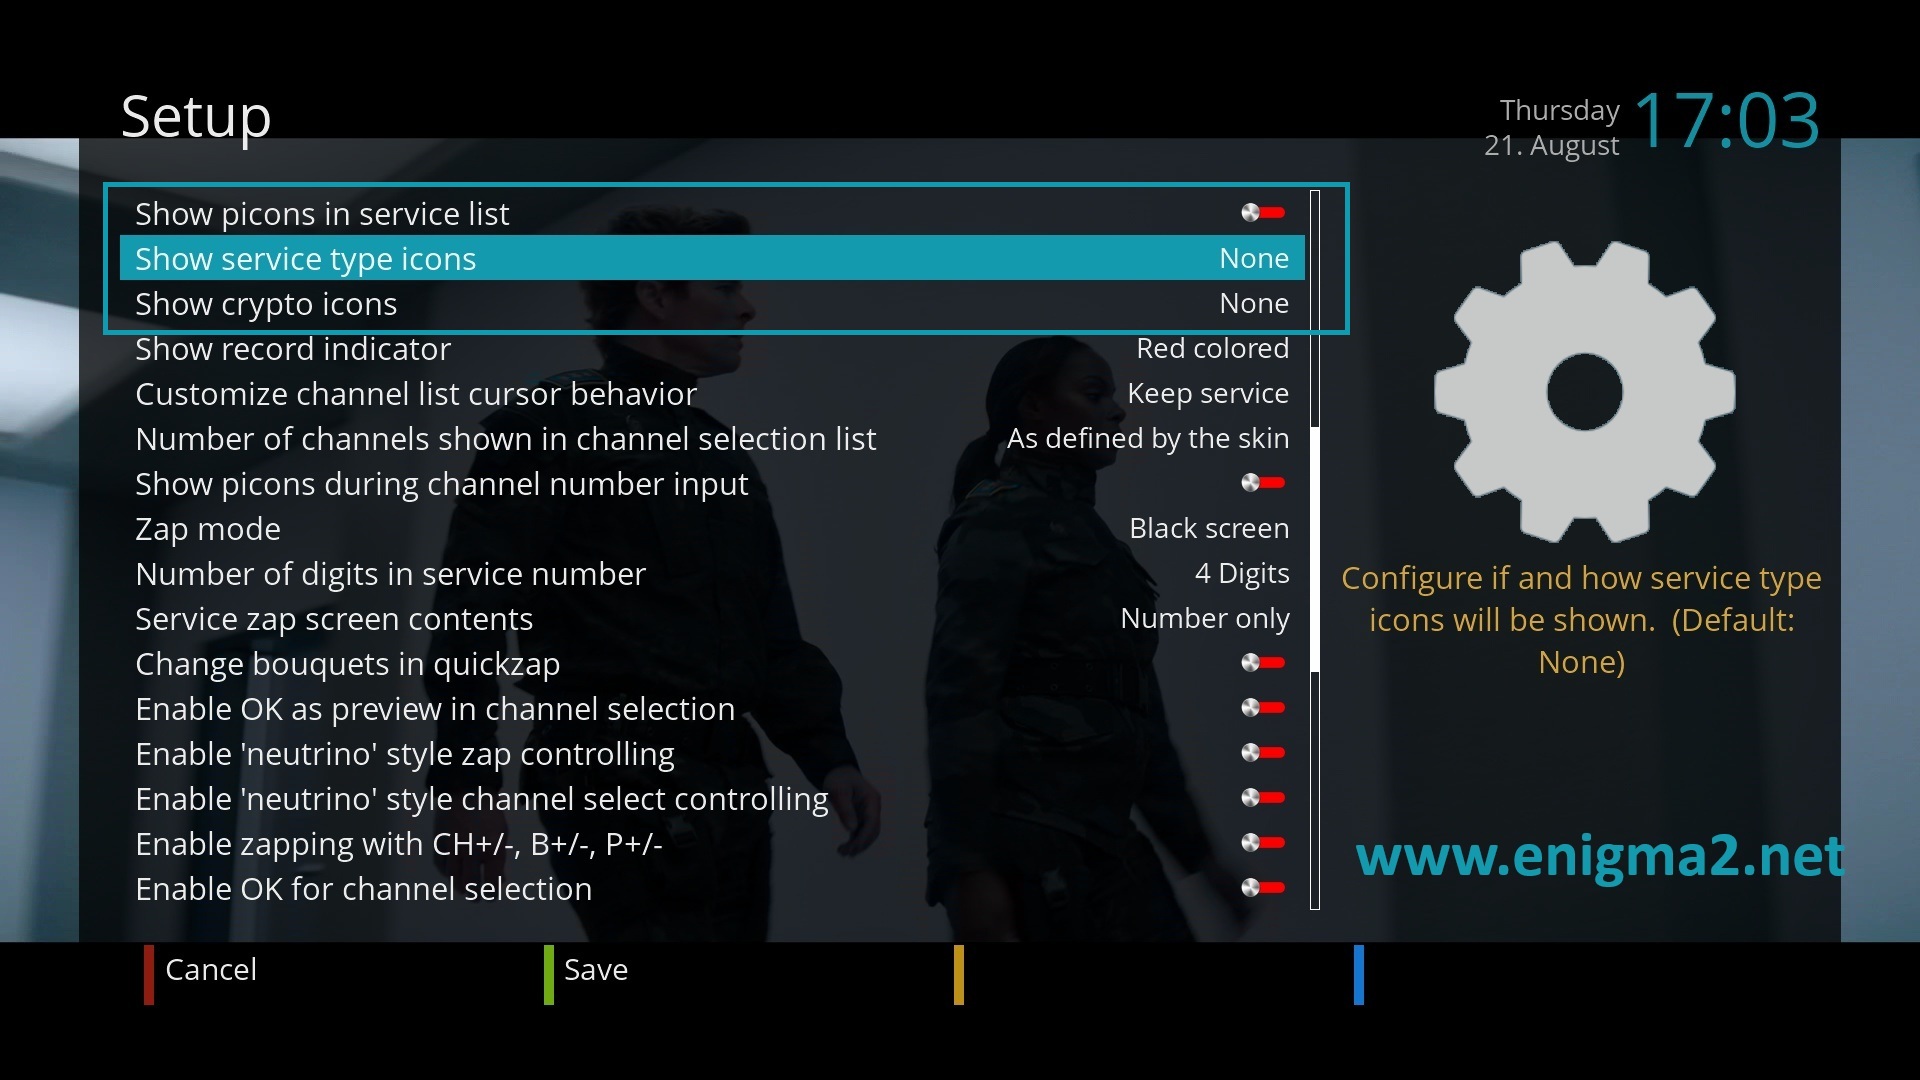
Show picons on service list
show service type icons
show crypto icons
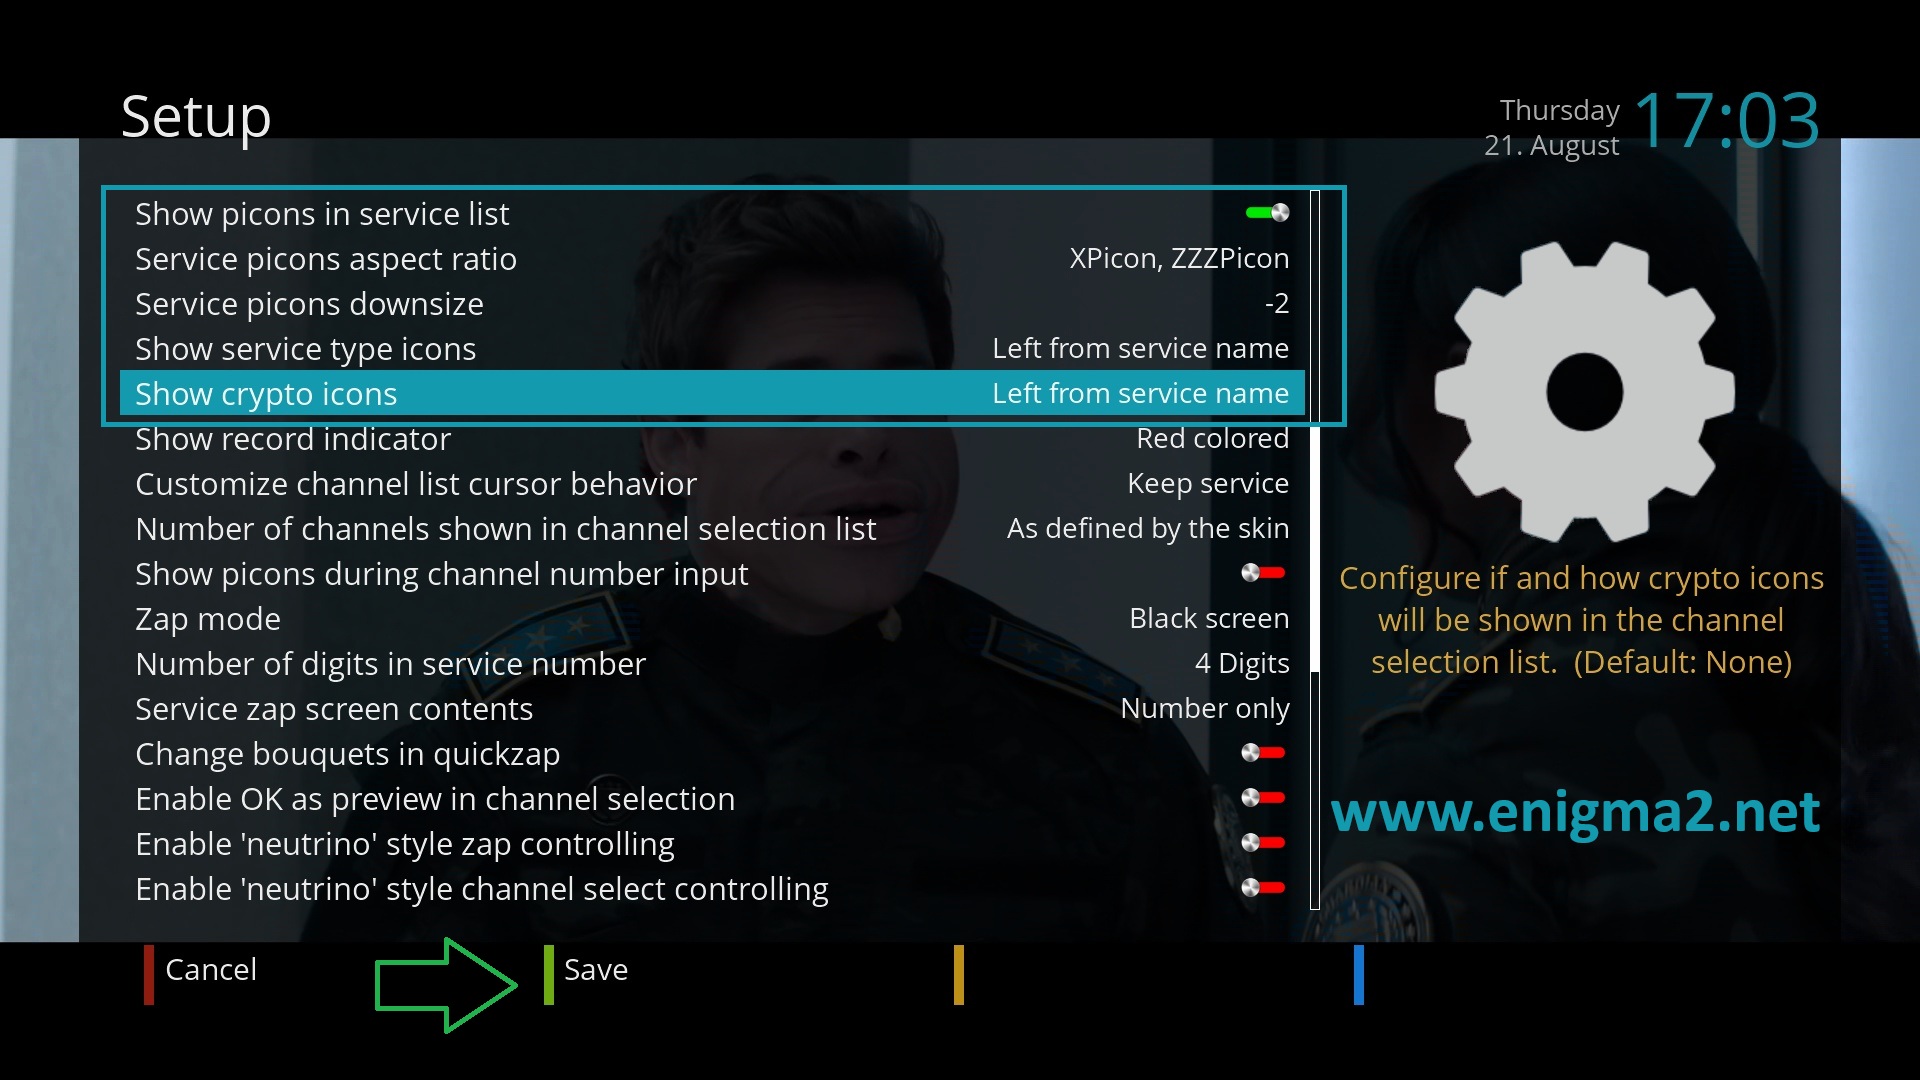
press GREEN button to save
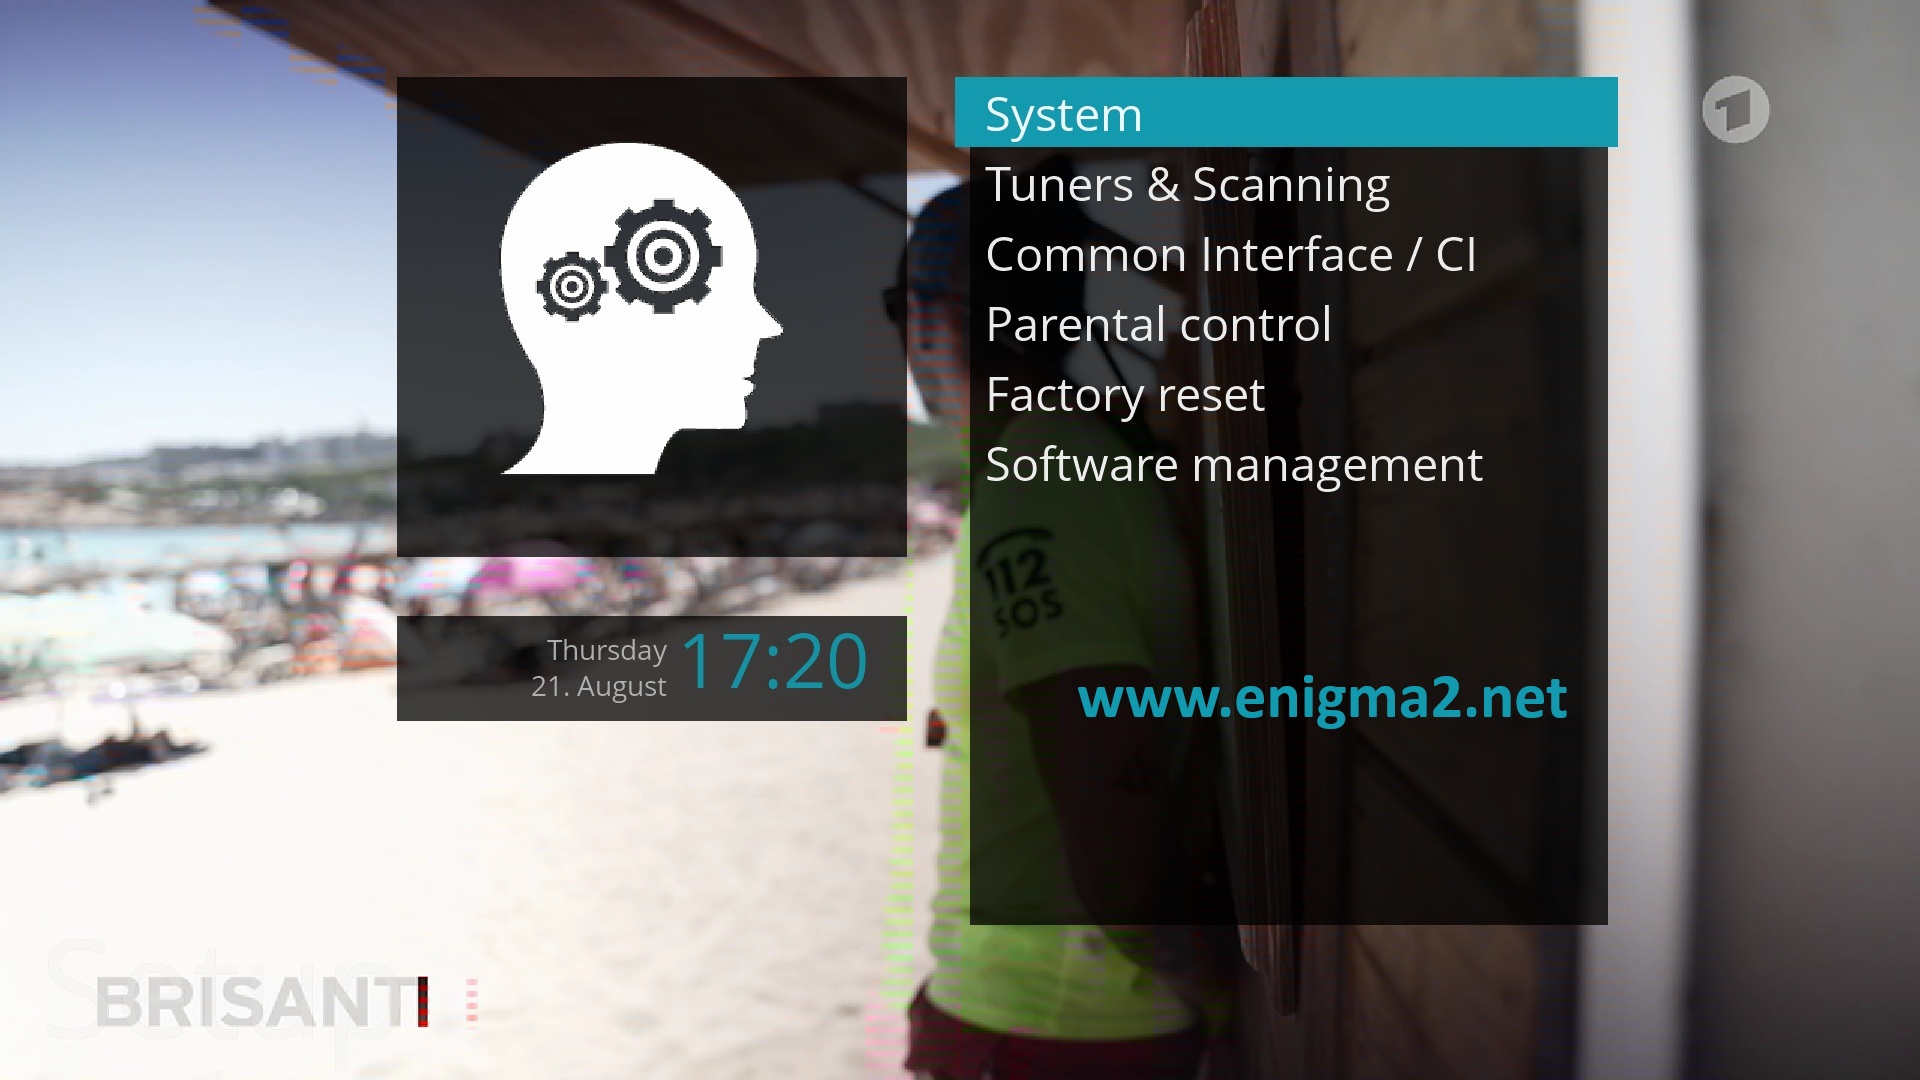
press MENU
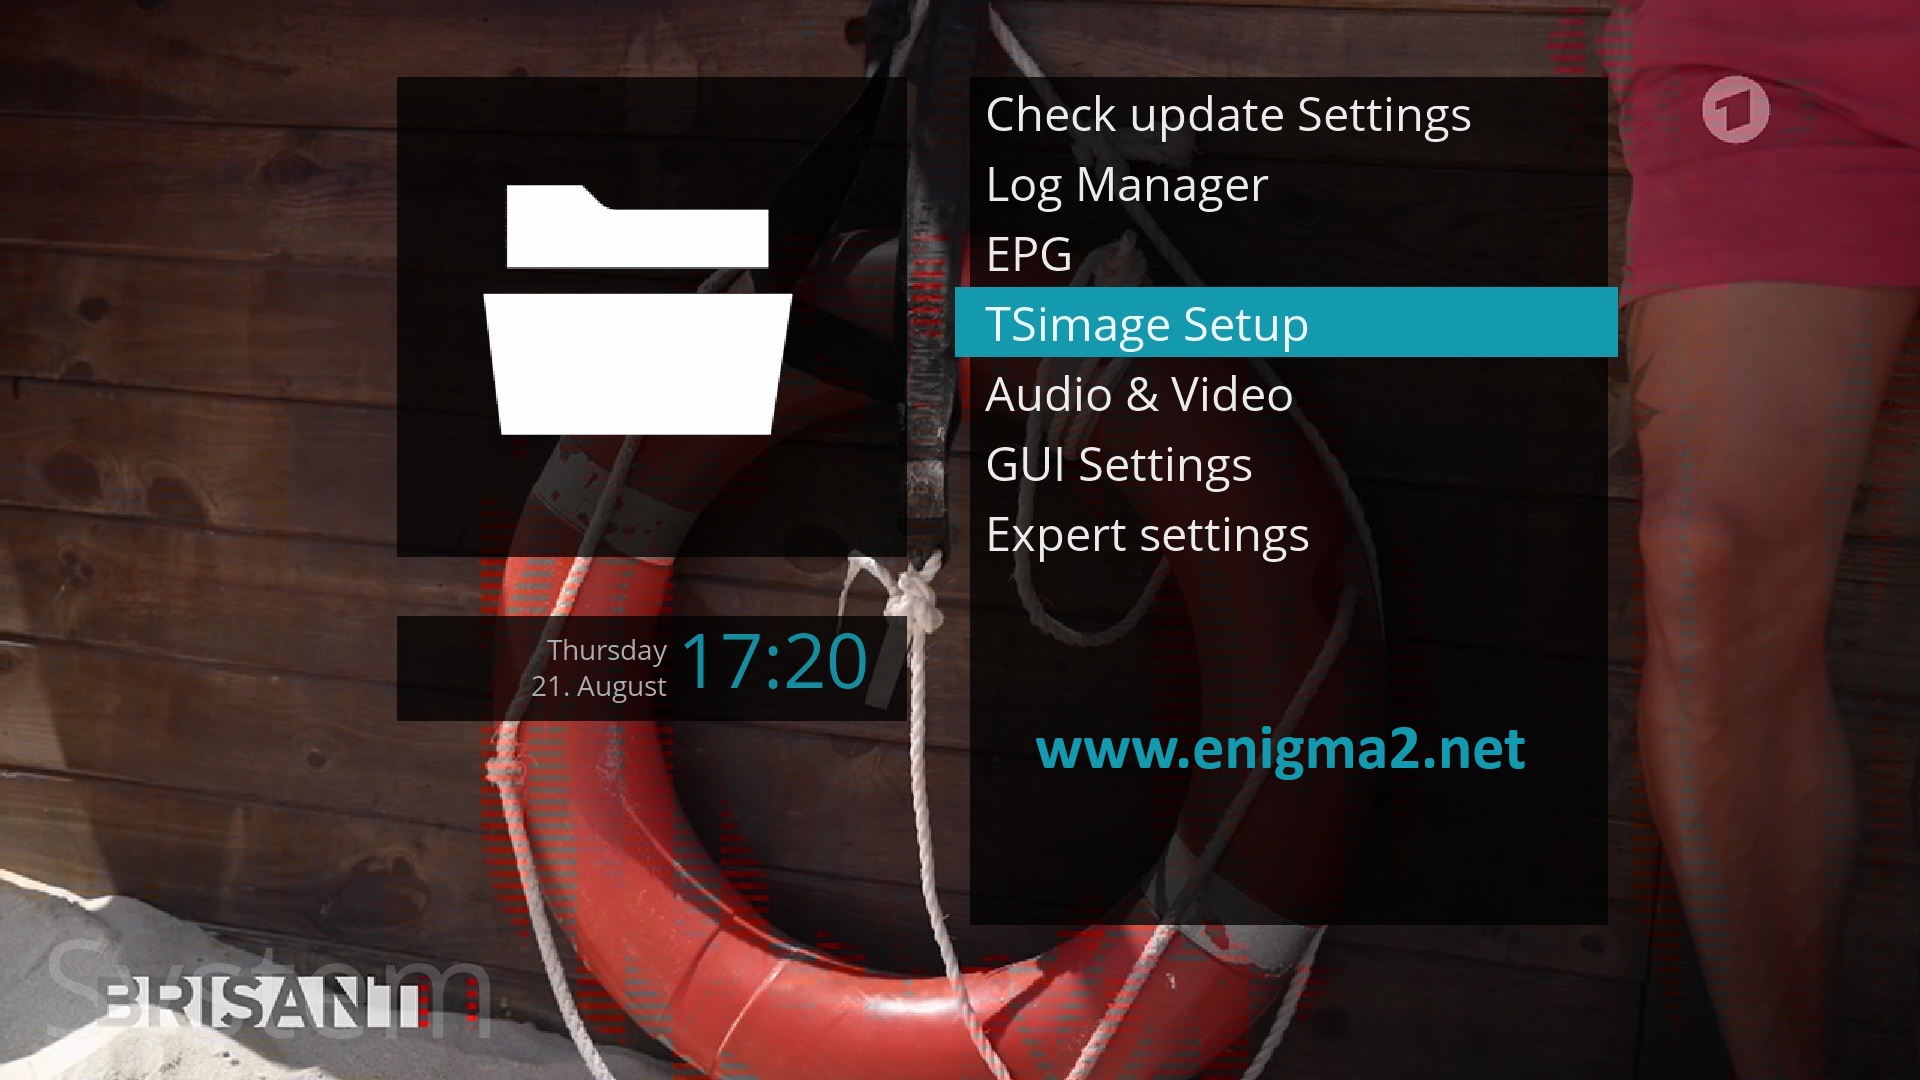
Select TSIMAGE SETUP
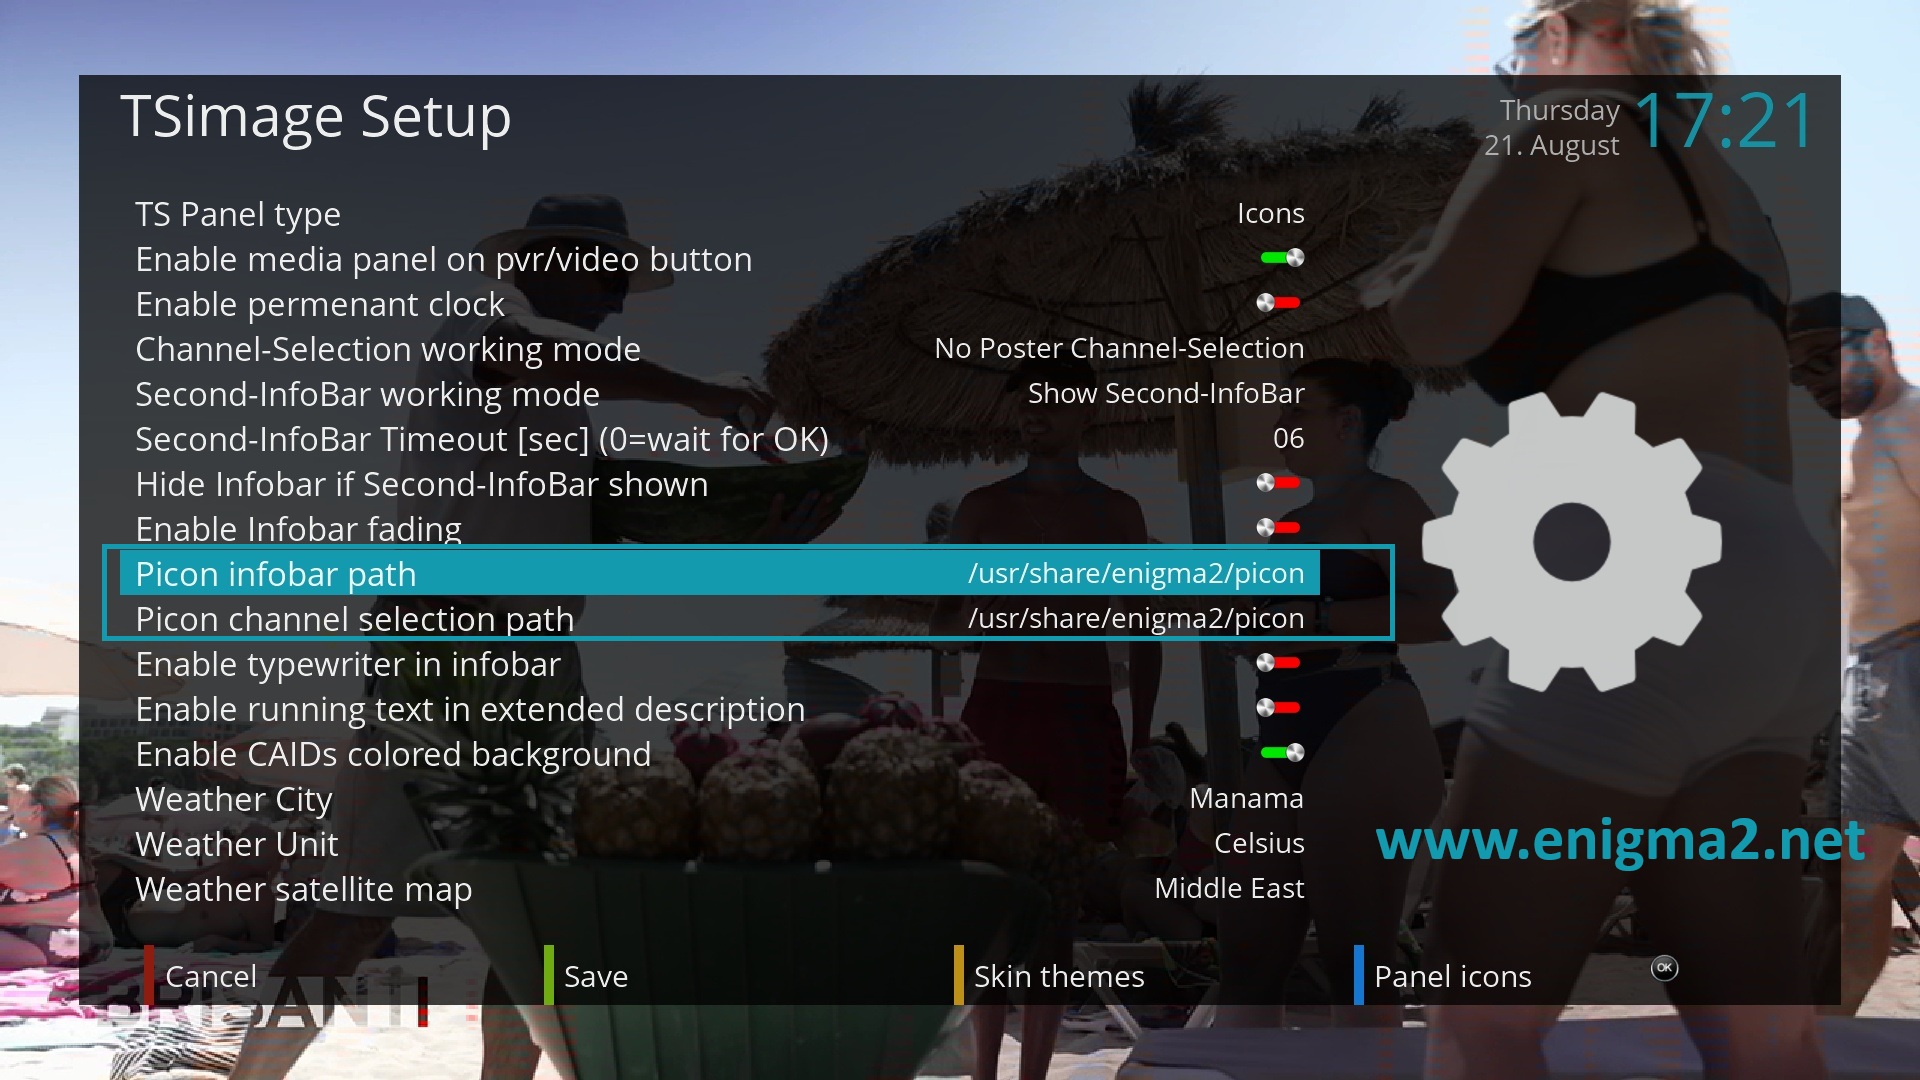
Change picons infobar path to /usr/share/enigma2/picon
Change picons channel selection path to /usr/share/enigma2/picon
Press GREEN button to save

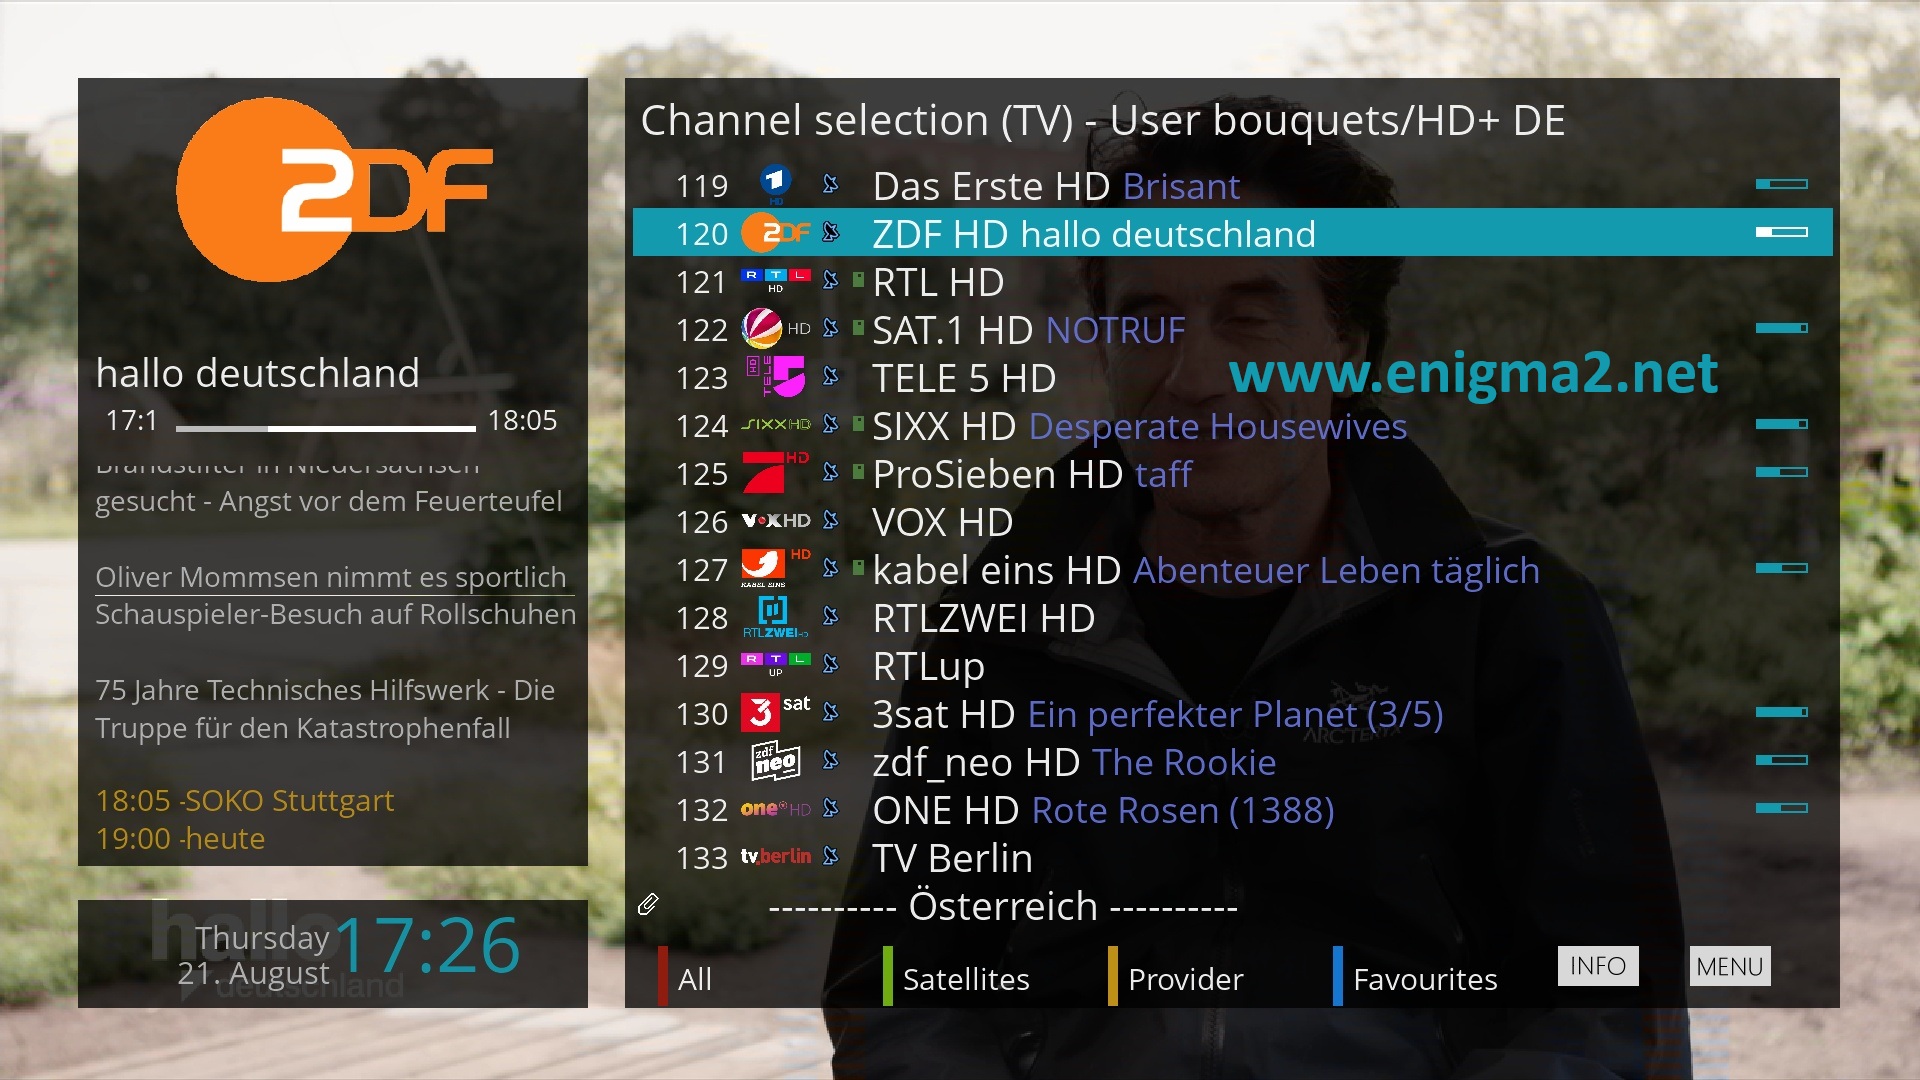
Congratulation you have Picon now on your OpenTS image 🙂
*******************************************************************
You can install the picons on the internal flash memory of your receiver, the internal hard disk, a USB key
Command to add when copying picon to the internal hard drive
ln -s /usr/share/enigma2/picon /hdd/picon
Command to add when copying picon to USB stick
ln -s /usr/share/enigma2/picon/usb/picon