[TUTORIAL] How to install OSCAM on Newnigma2 with script
for the first time on the web, here is a tutorial on the installation and configuration of OScam on the DREAMBOX decoder under a Newnigma2 image.
For this tutorial you need.
Material:
DM520HD
DM525HD
DM820HD
DM7080HD
DM900UHD 4K
DM920UHD 4K
Dreambox ONE UHD 4K (new)
Dreambox TWO UHD 4K (new)
Dreambox SEVEN UHD 4K (new)
Software:
Winscp for WINDOWS 10, WINDOWS 11
![]()
PUTTY for windows
![]()
A OScam subscription
If you do not have a OScam subscription you can order it here

1- Installing the OSCAM with script
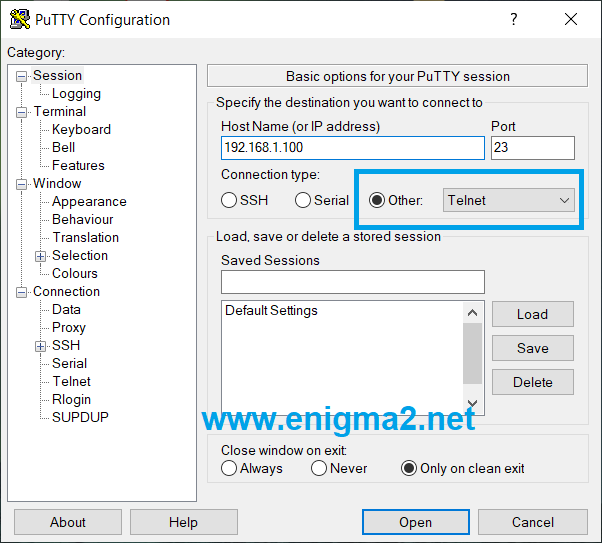
launch PUTTY
type you the IP address of your DREAMBOX.
choose TELNET or SSH and Open the connection.

Loging : root
password: no password needed
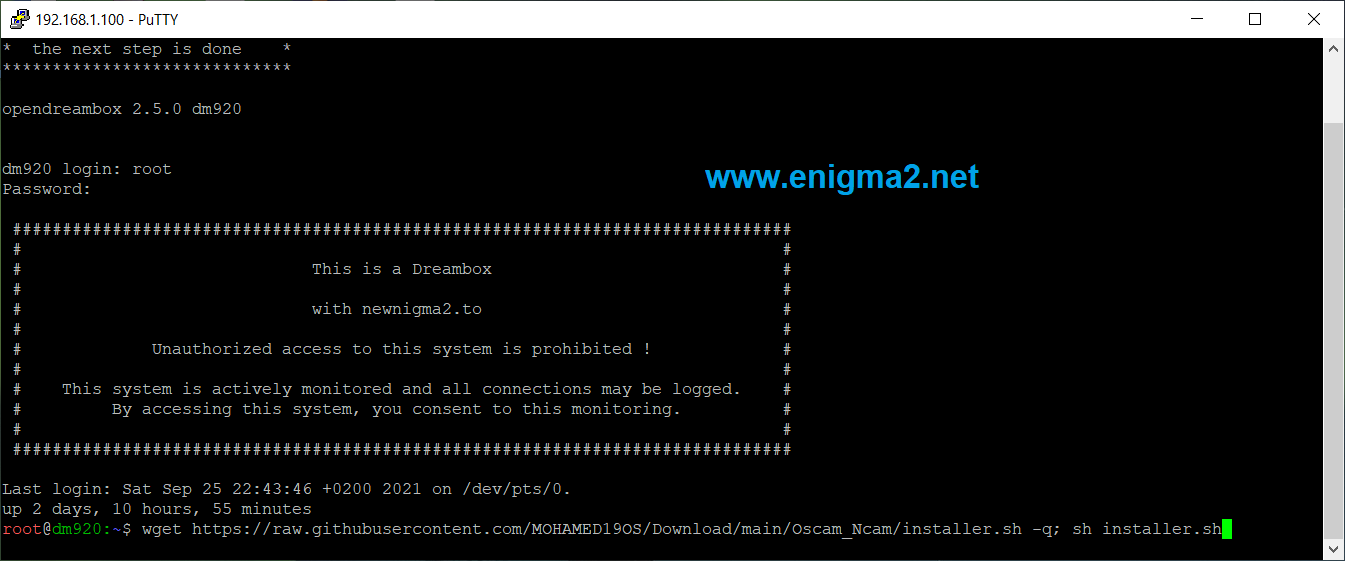
copy and past the SCRIPT below
python -c “$(wget https://raw.githubusercontent.com/MOHAMED19OS/Enigma2_Store/main/Cam_Emulator/installer.py -qO -)”
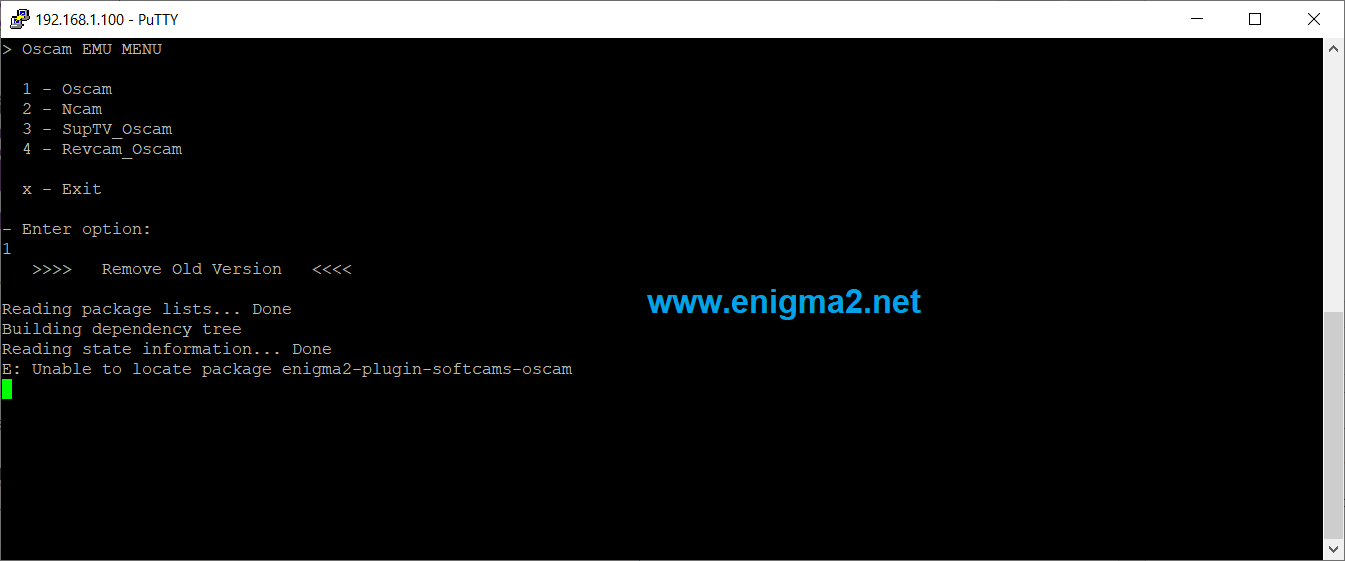
type 1 to choose OSCAM and wait.
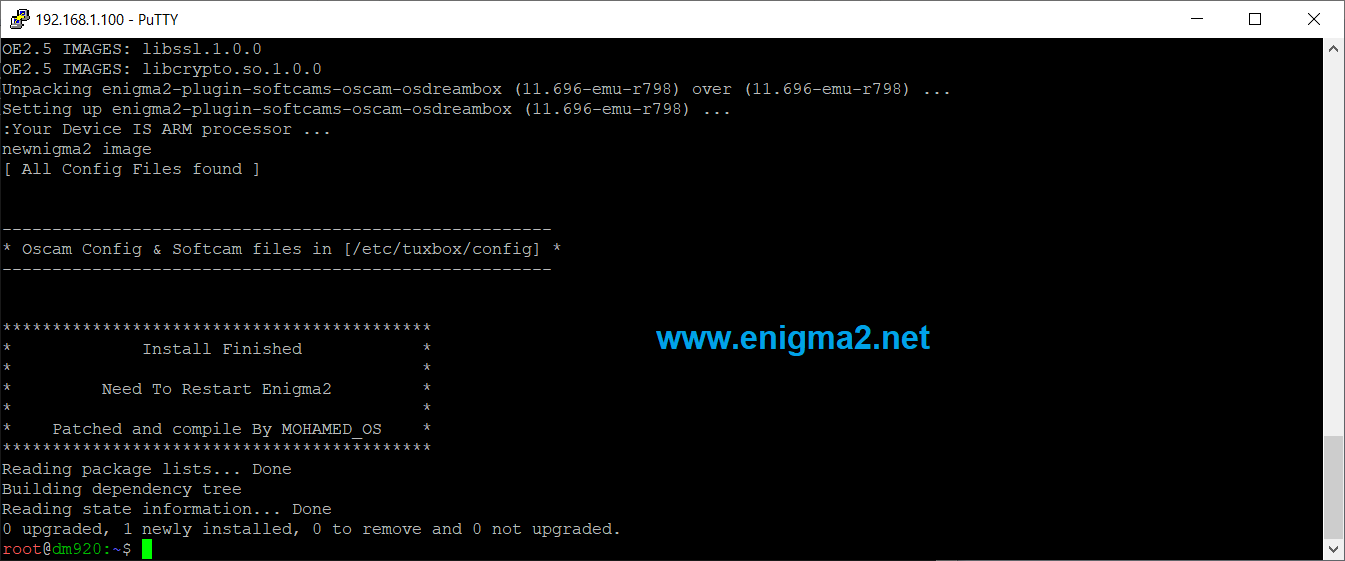
installation DONE,
NOW REBOOT YOUR RECEIVER GUI
2. Copy of the OSCam subscription
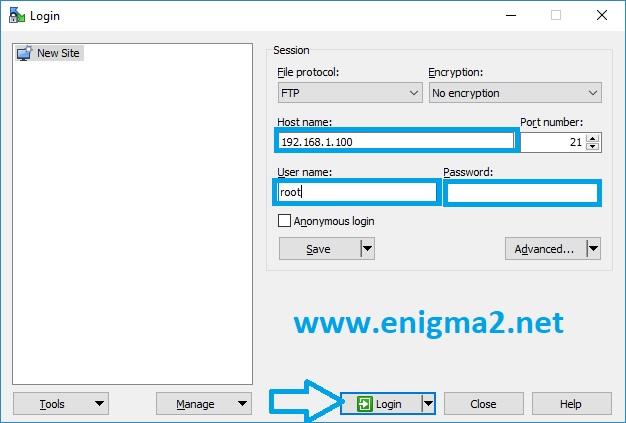
– Launch WINSCP in the home window
File protocol: FTP
Hot name: 192.168.1.100 (ip address of your Dreambox)
User name: root
Password: “empty” by default the root password in Newnigma2 is empty (no password)
After clicking on Login
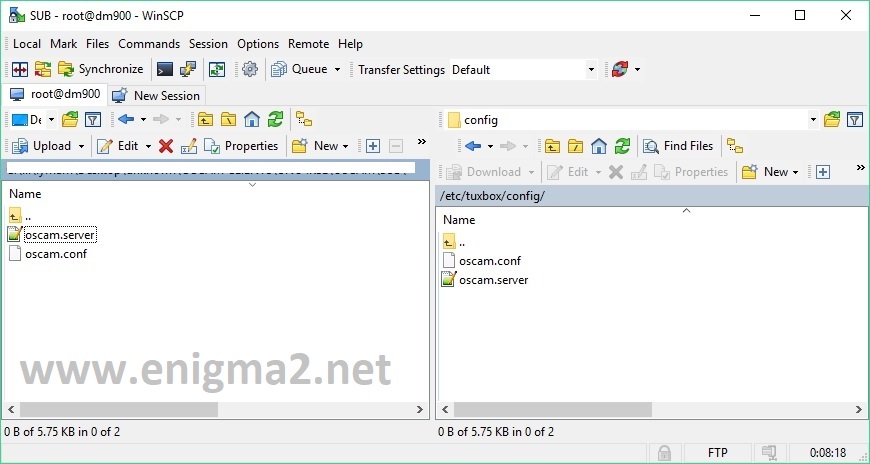
Copy subscription files from your PC to the /etc/tuxbox/config path of your receiver.
oscam.server
osam.conf
3. Starting oscam
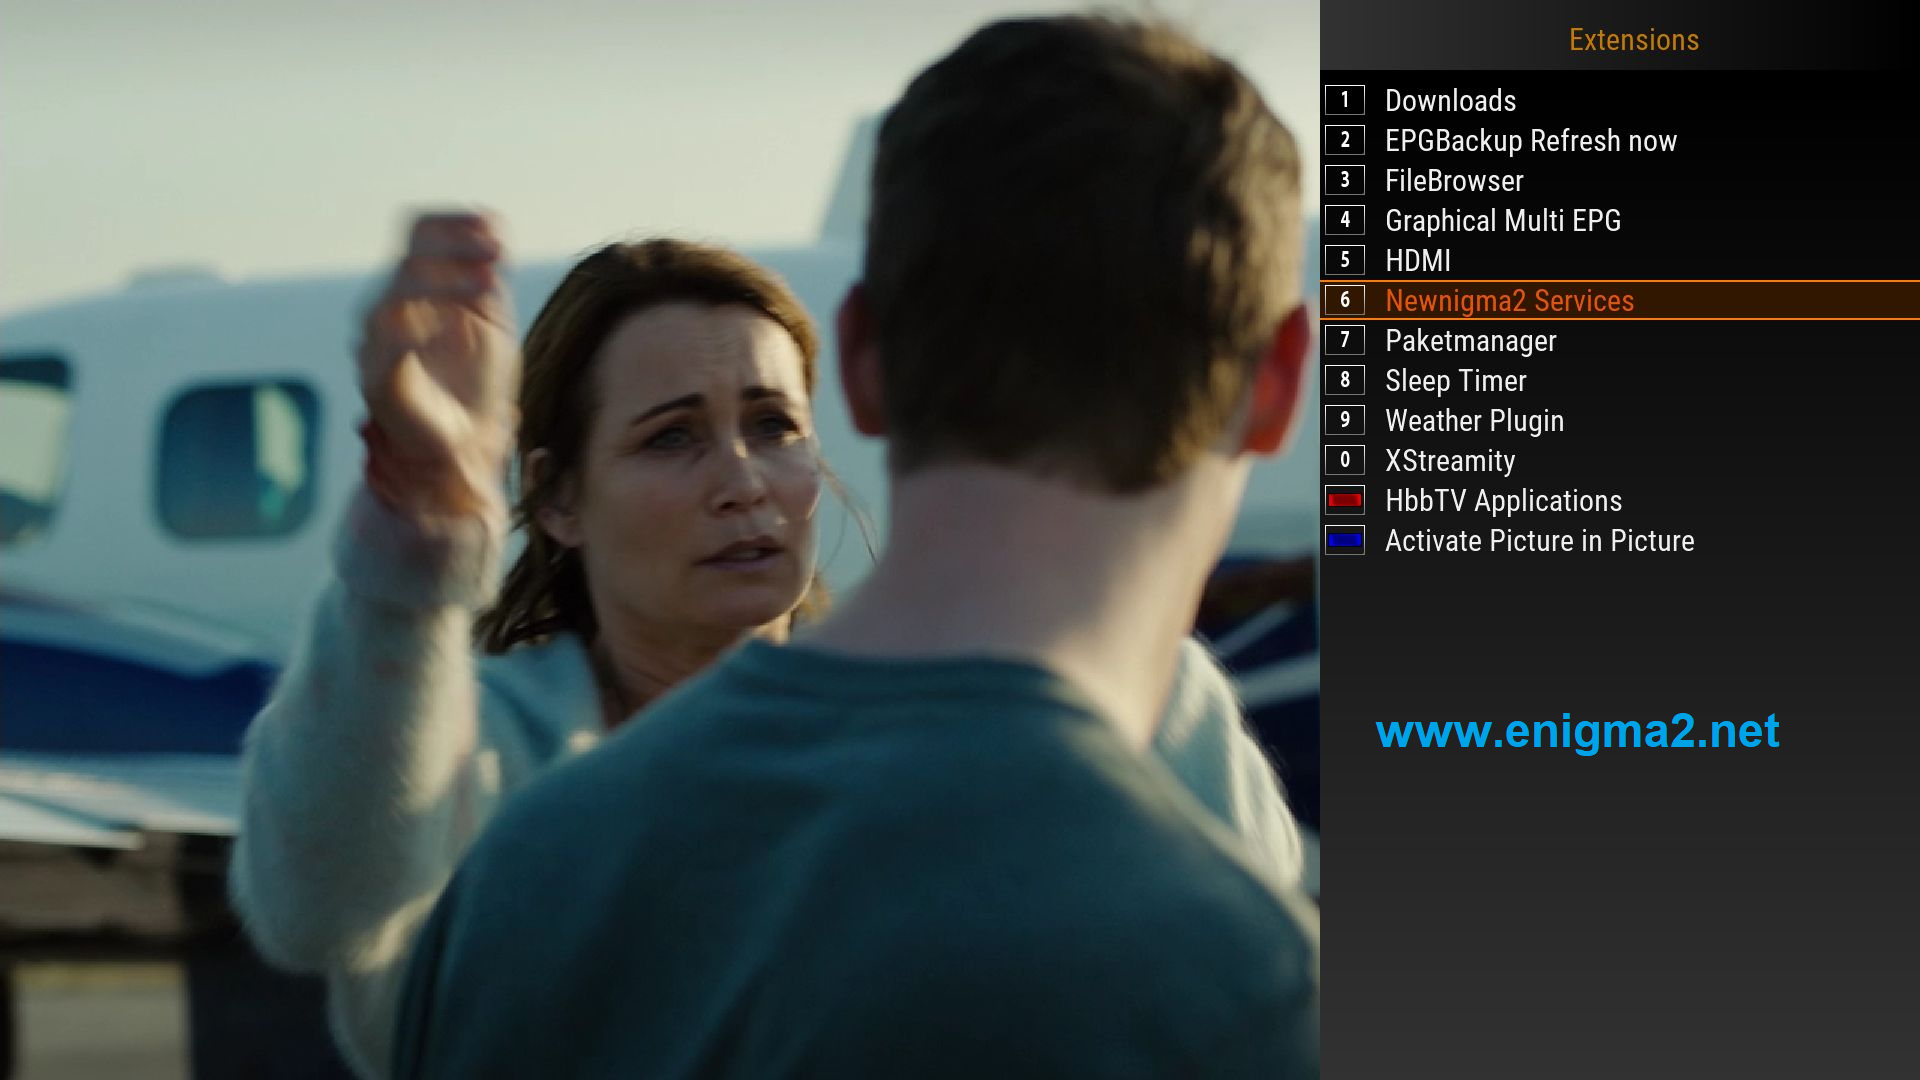
Press the blue button
Select Newnigma2 services

Select EMU MENU
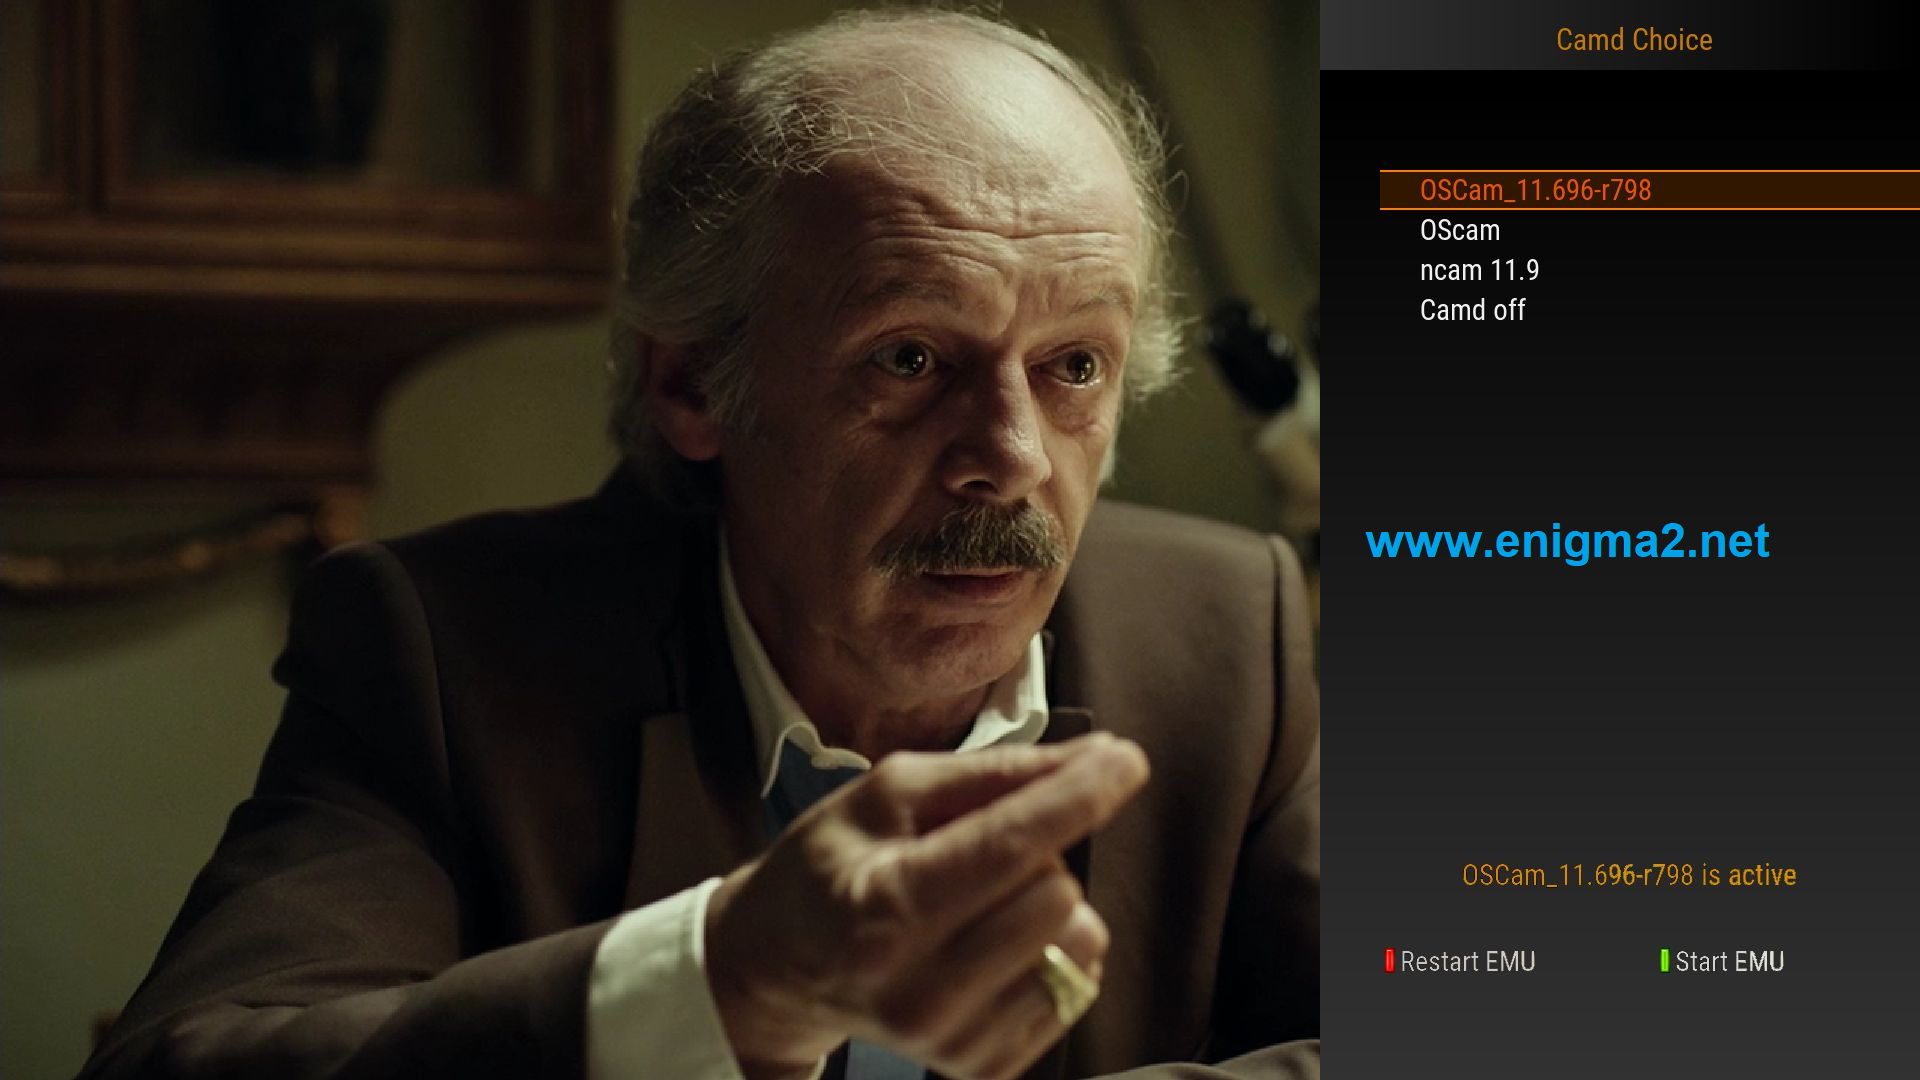
CAM CHOICE
Press GREEN button to start OSCAM 11696
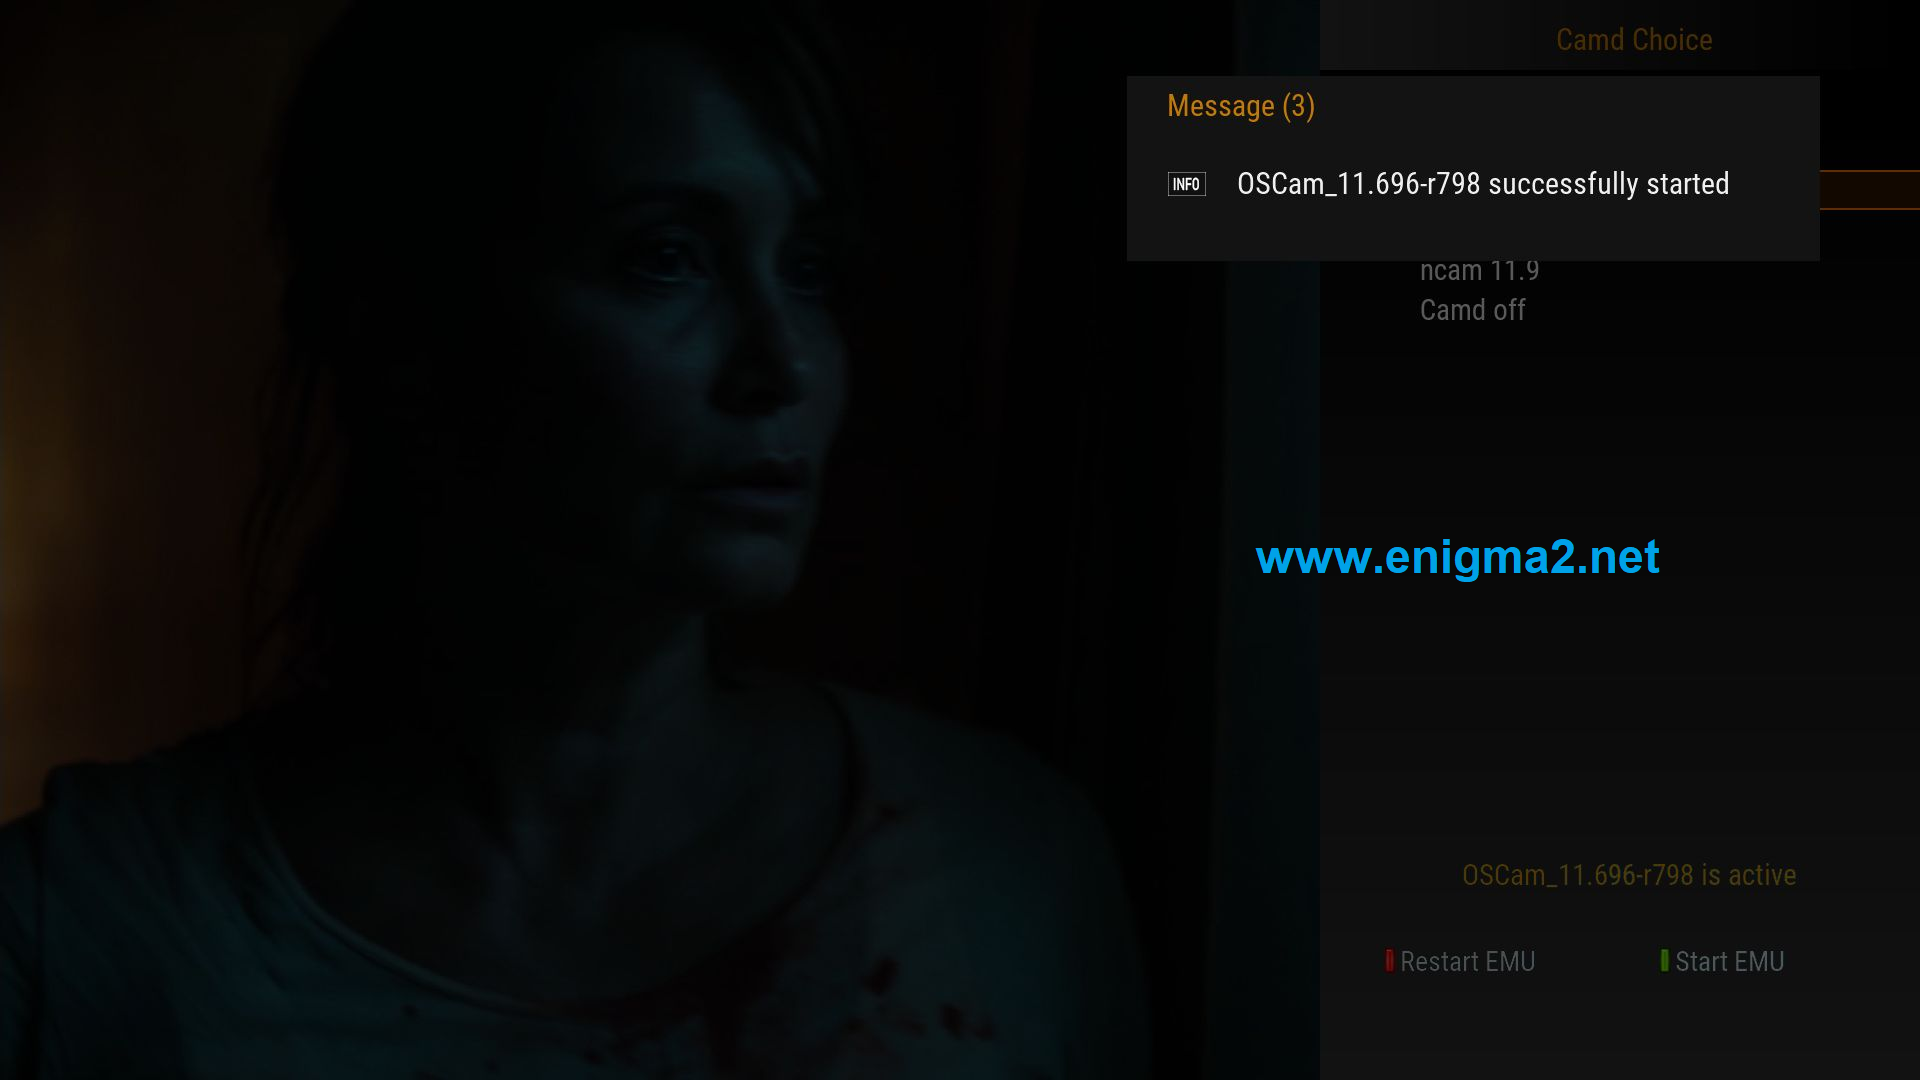
Please wait while starting OSCAM

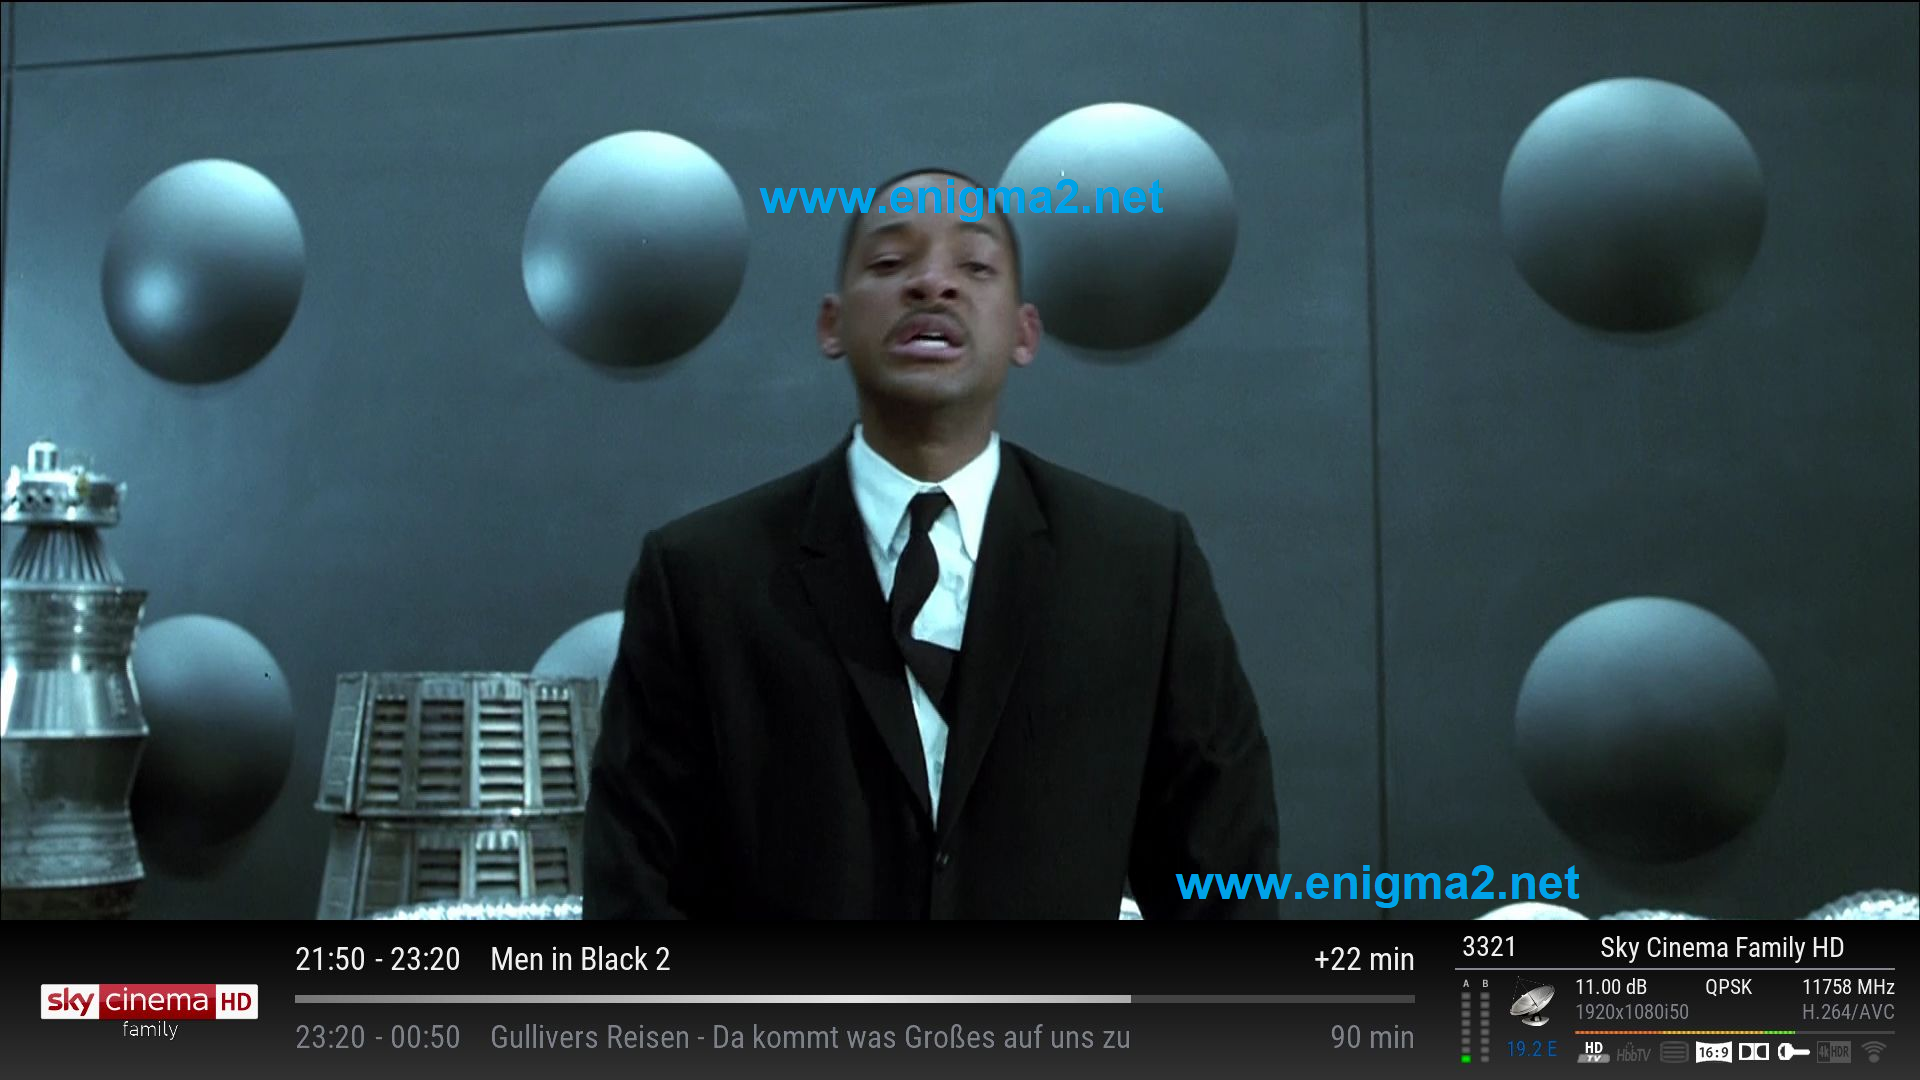
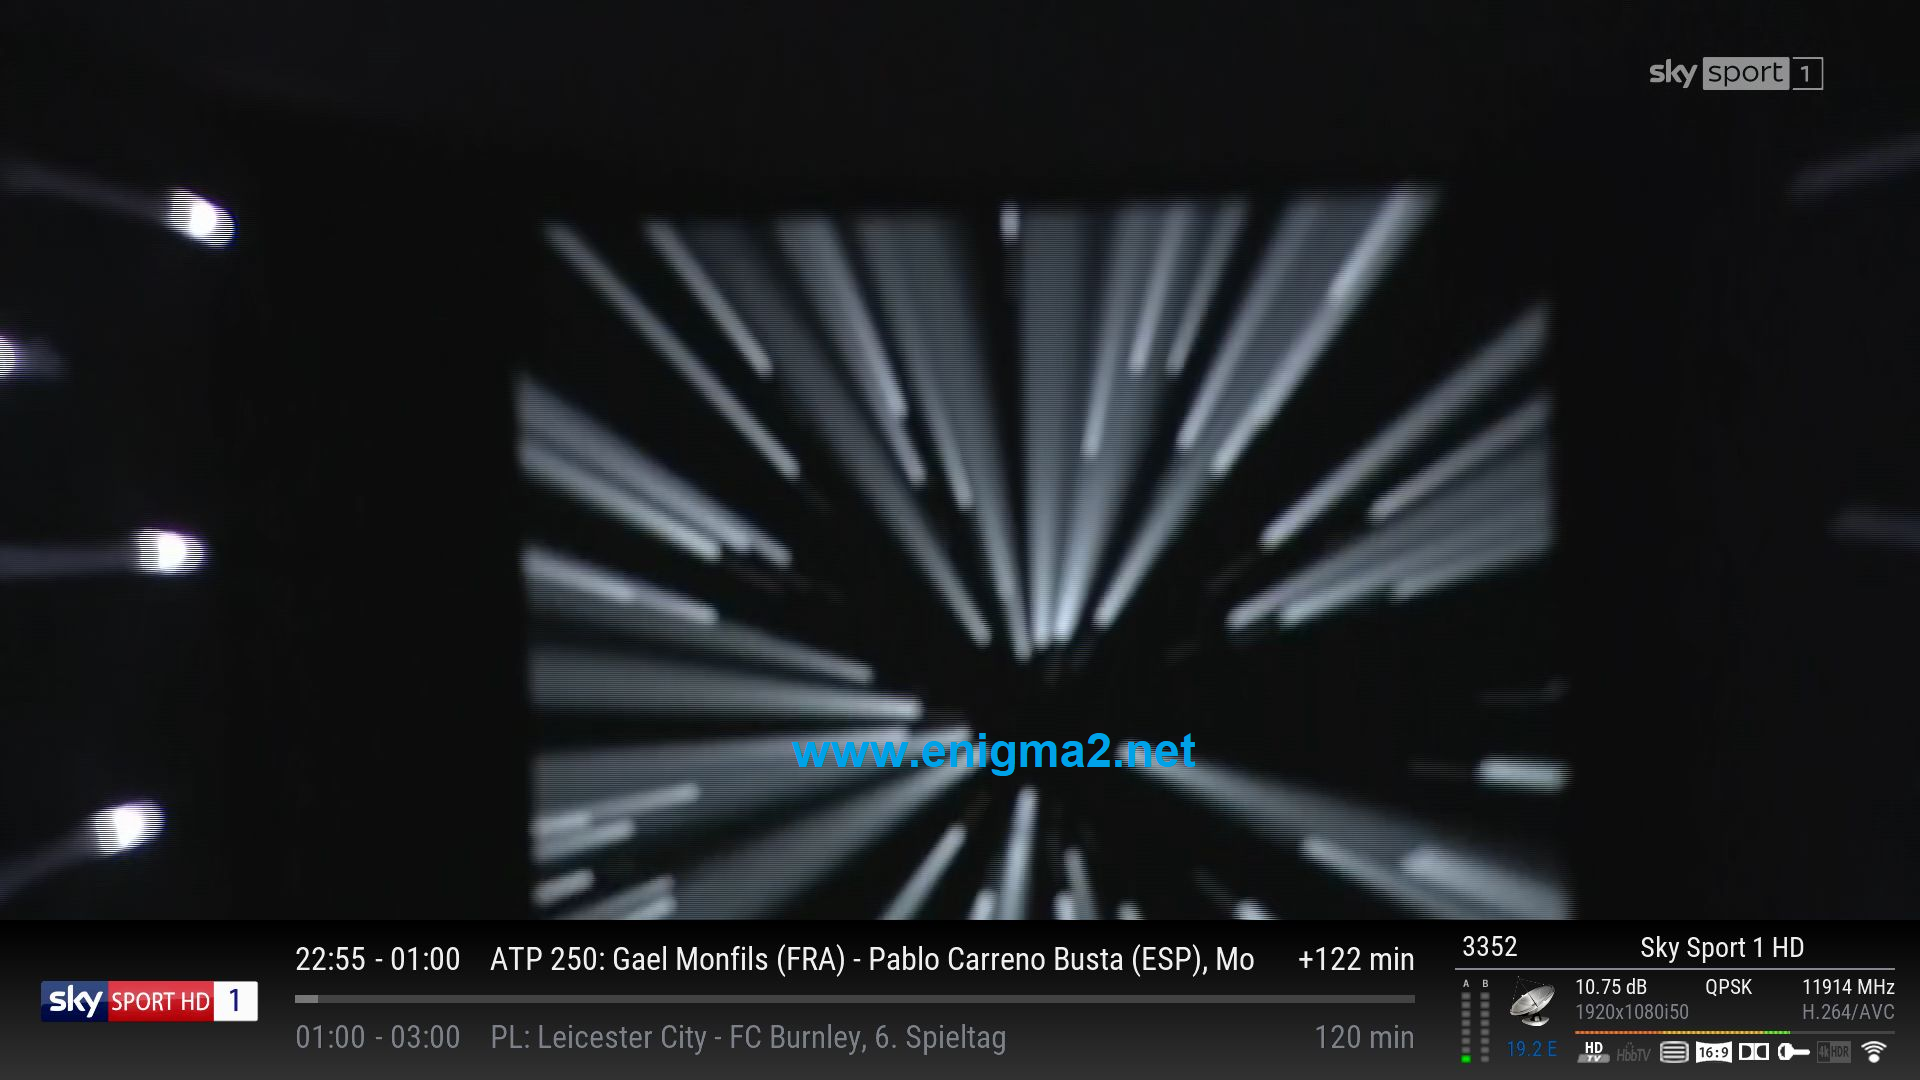
VIDEO TEST