[HOW TO FLASH] how to flash Protek 9910 LX

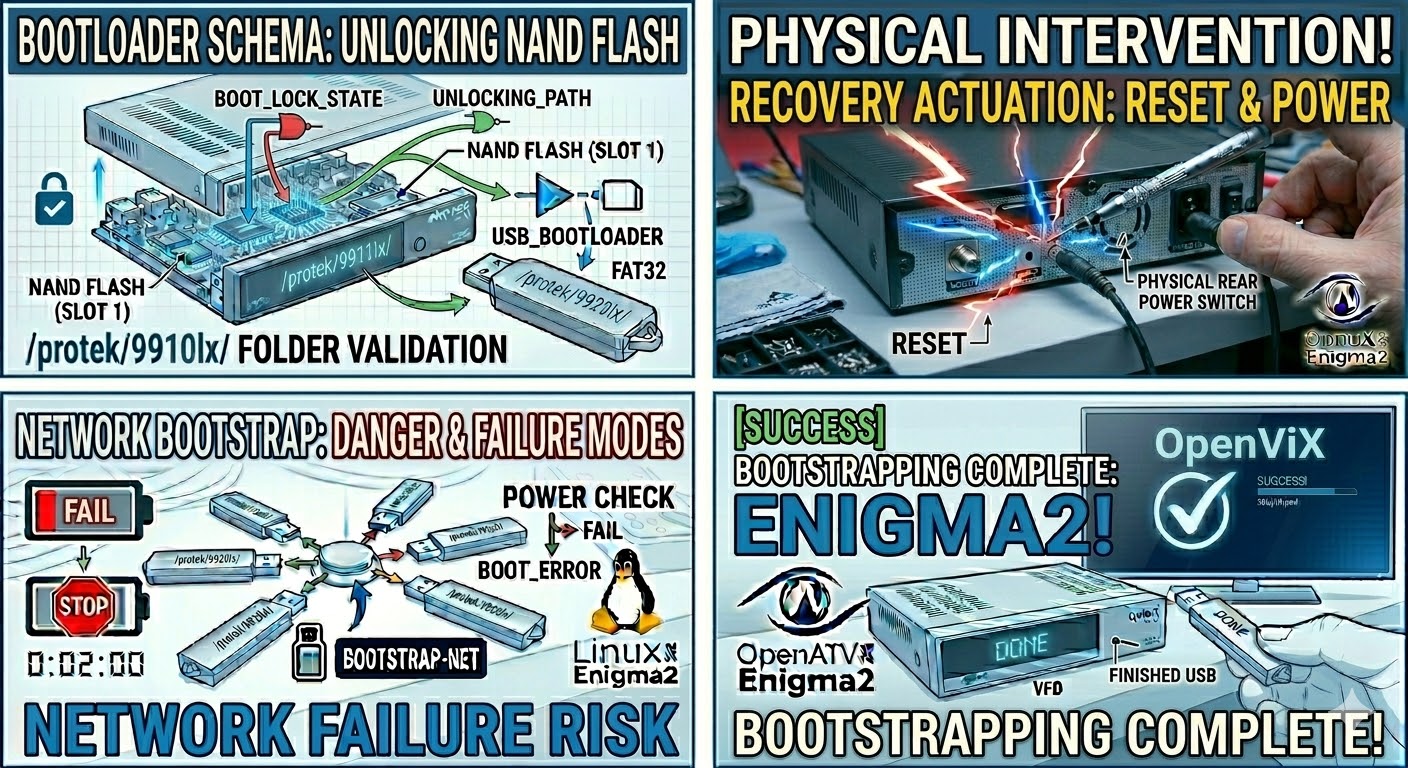
To flash the Protek 9910 LX, you follow a nearly identical procedure to its siblings in the LX series. This Broadcom-based HD receiver is dependable but requires the specific folder path to be recognized by the bootloader at startup.
Preparation
-
USB Drive: Use a USB 2.0 stick (ideally 2GB–8GB) formatted to FAT32.
-
Download Image: Ensure the firmware is specifically for the Protek 9910 LX (OpenATV, OpenHDF, etc.).
-
Extract Files: Unzip the archive on your PC. You will see a folder named
protek. -
Copy to USB: Transfer the entire
protekfolder to the root of the USB drive.-
Structure:
USB Stick -> protek -> 9910lx -> (image files: kernel.bin, rootfs.bin, etc.).
-
The Flashing Process
-
Power Down: Turn off the receiver using the physical power switch at the back.
-
Insert USB: Plug the USB stick into the rear USB port (this is generally more stable for flashing than the front port).
-
Power On: Flip the rear power switch to ON.
-
Initiate Flash:
-
Watch the front panel display.
-
When you see the message “Update?” or “Press OK”, immediately press the Standby/Power button on the front panel (or the OK button if you have the front flap open).
-
-
Wait: The display will show “Flashing” or a progress indicator. Do not turn off the power during this phase, or you risk bricking the device.
-
Complete: The box will reboot automatically once finished. When the setup wizard appears on your TV, the process is complete and you can remove the USB.
Quick Troubleshooting
-
Folder Name: Ensure the subfolder is exactly
9911lx. Even though this is the 9910 LX model, many images use a shared 9911lx folder structure; if your image download provides a9910lxfolder instead, use that. -
Force Method: If the button press is not being detected, open the folder on your USB (
9910lxor9911lx), find the filenoforce, and rename it toforce. This triggers an automatic flash on boot. -
USB Pickiness: If it keeps booting to your old image, try a different, older USB 2.0 stick.