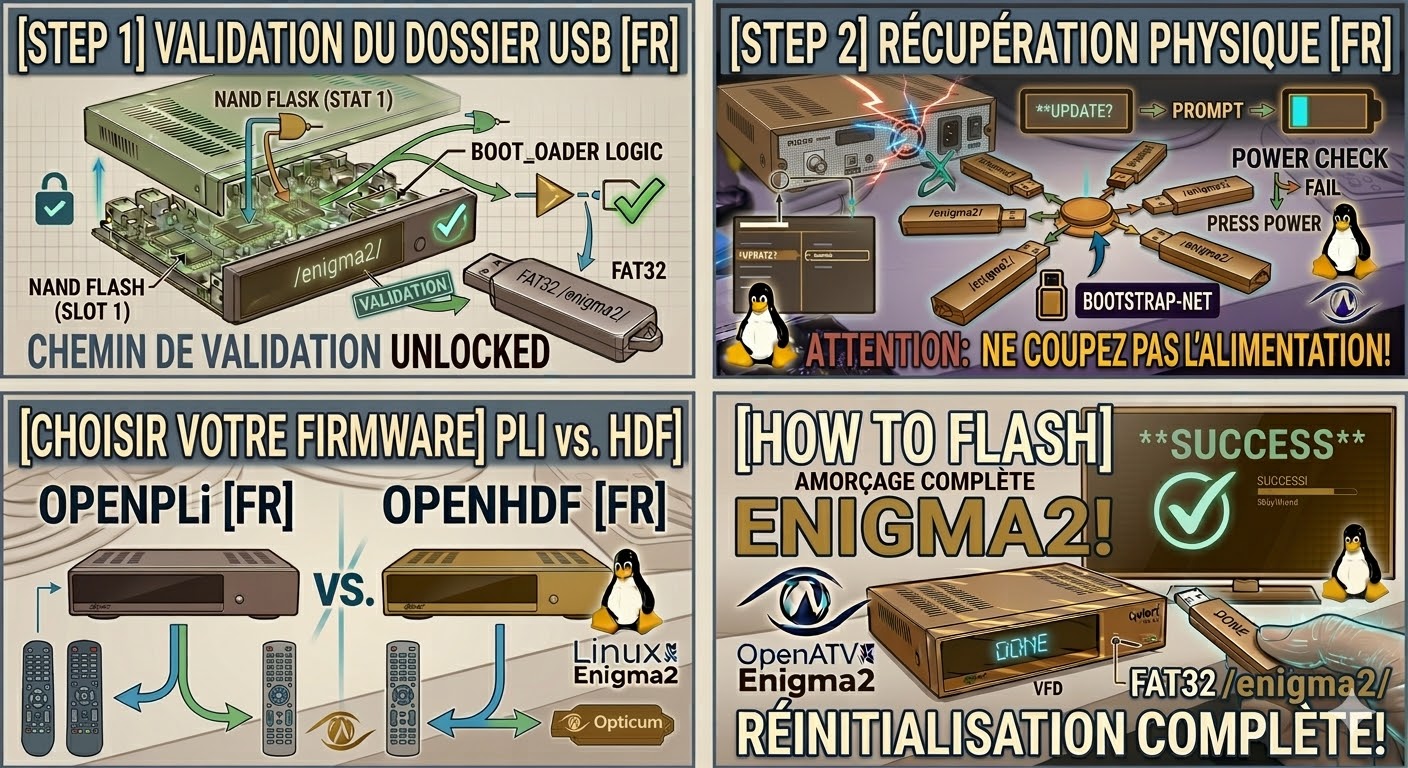
[HOW TO FLASH] how to flash Opticum Odin Twin

To flash the Opticum Odin Twin, you are working with a classic Broadcom-based Enigma2 receiver. The hardware is identical to many “Odin” branded boxes, so the key is ensuring the bootloader finds the specific folder path.
Preparation
-
USB Drive: Use a small USB 2.0 stick (max 8GB) formatted to FAT32.
-
Download Image: Ensure you have the firmware for the Opticum Odin Twin (OpenATV is highly recommended).
-
Extract Files: Unzip the archive. You will see a folder named
odin. -
Copy to USB: Transfer the folder to the root of the USB drive.
-
Structure:
USB Root -> odin -> twin -> (image files: kernel.bin, rootfs.bin, etc.).
-
The Flashing Process
-
Power Off: Turn the receiver off using the physical switch at the back.
-
Insert USB: Plug the stick into the front USB port (located behind the front flap).
-
Power On: Flip the rear switch to ON.
-
Initiate Flash: * Watch the front panel display carefully.
-
When it shows “UPDT” or “Update?”, press the OK button on the front panel (behind the flap) immediately.
-
-
Wait: The display will cycle through the flashing progress. Do not interrupt the power.
-
Complete: The receiver will reboot itself when finished. Once you see the setup wizard on your TV, you can remove the USB stick.
Troubleshooting
-
Folder Hierarchy: Ensure there isn’t a “double folder” (e.g.,
odin/odin/twin). Theodinfolder must be at the very top level of the USB. -
Force Update: If the button doesn’t trigger the update, find the file
noforcein thetwinfolder and rename it toforce. This will automate the flash. -
USB Selection: Older Opticum boxes can be very picky. If it skips the update and boots normally, try an older USB 2.0 drive.

