[HOW TO FLASH] how to flash Edision OS nino Pro

Flashing the Edision OS nino Pro (Step-by-Step)
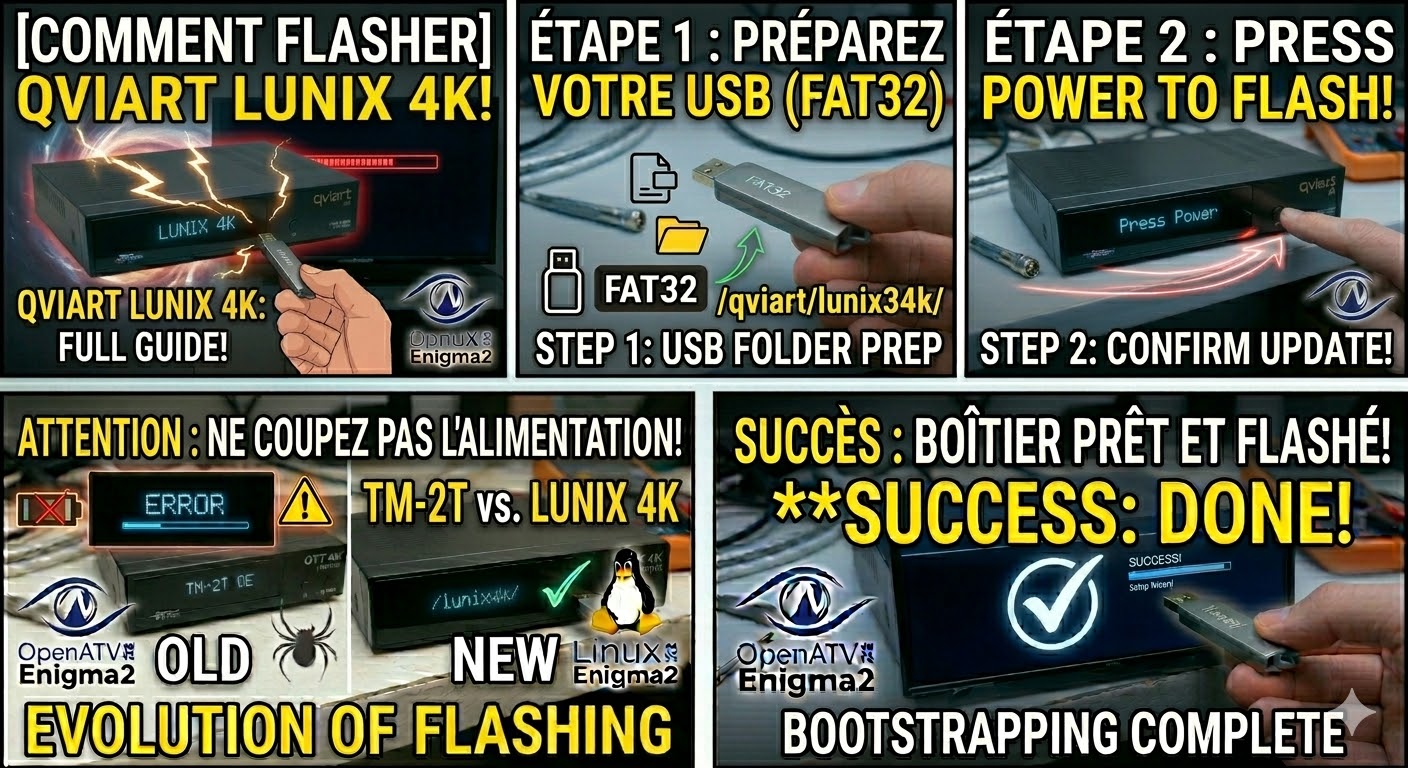
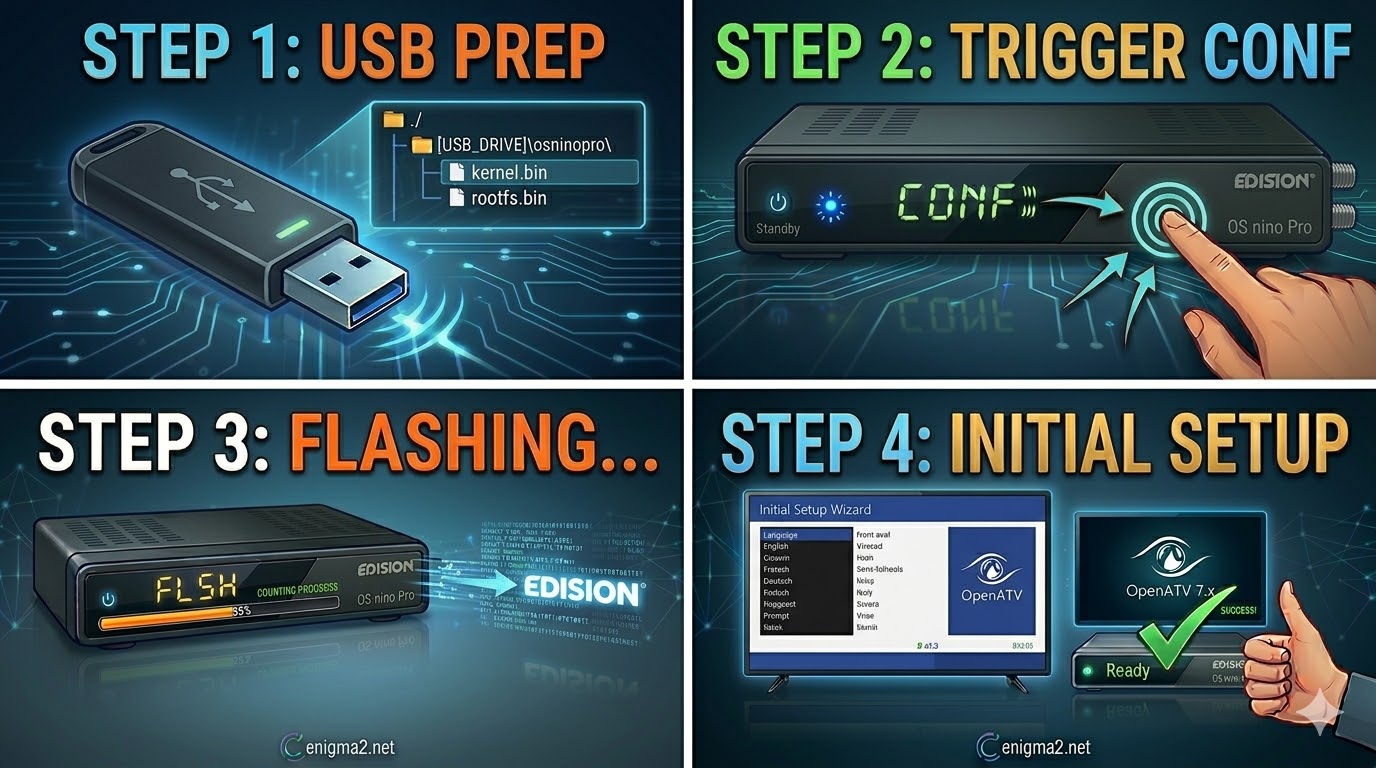
1. Prepare the USB Drive
-
Format: Use a USB 2.0 stick (FAT32). High-quality sticks under 8GB usually work best for Edision bootloaders.
-
Download: Get the latest Enigma2 image (OpenATV, OpenPLi, etc.) for the osninopro.
-
The Folder Path: Extract the ZIP file. The root of your USB drive must look like this:
-
USB_ROOT/osninopro/
-
-
Verify Files: Inside the
osninoprofolder, you must have:-
kernel.bin -
rootfs.bin -
force(Edision images often include this file by default to automate the flash).
-
2. The Flashing Procedure
-
Power Down: Turn off the receiver using the power switch at the back (or unplug the power lead).
-
Insert USB: Plug the stick into the side or rear USB port.
-
The Trigger:
-
Turn the power switch back to ON.
-
Automatic Flash: Most Edision images use the
forcefile, so the receiver will detect the USB and start flashing automatically. -
Manual Trigger: If it doesn’t start, look for a message on the TV screen or the front LED. You may need to press the OK or Power button on the remote control (unlike the EVO, Edision often listens for the remote trigger).
-
-
Progress: The front LED will change colors (usually flashing Blue/Red) to indicate it is writing the software.
-
Finish: Once the process is complete, the receiver will reboot. You can remove the USB when the setup wizard appears.

The flashing process should take approximately two to four minutes to complete, while the receiver
is being flashed it is vitally important that you DO NOT power the receiver down for any reason as
this can cause serious and or permanent damage.