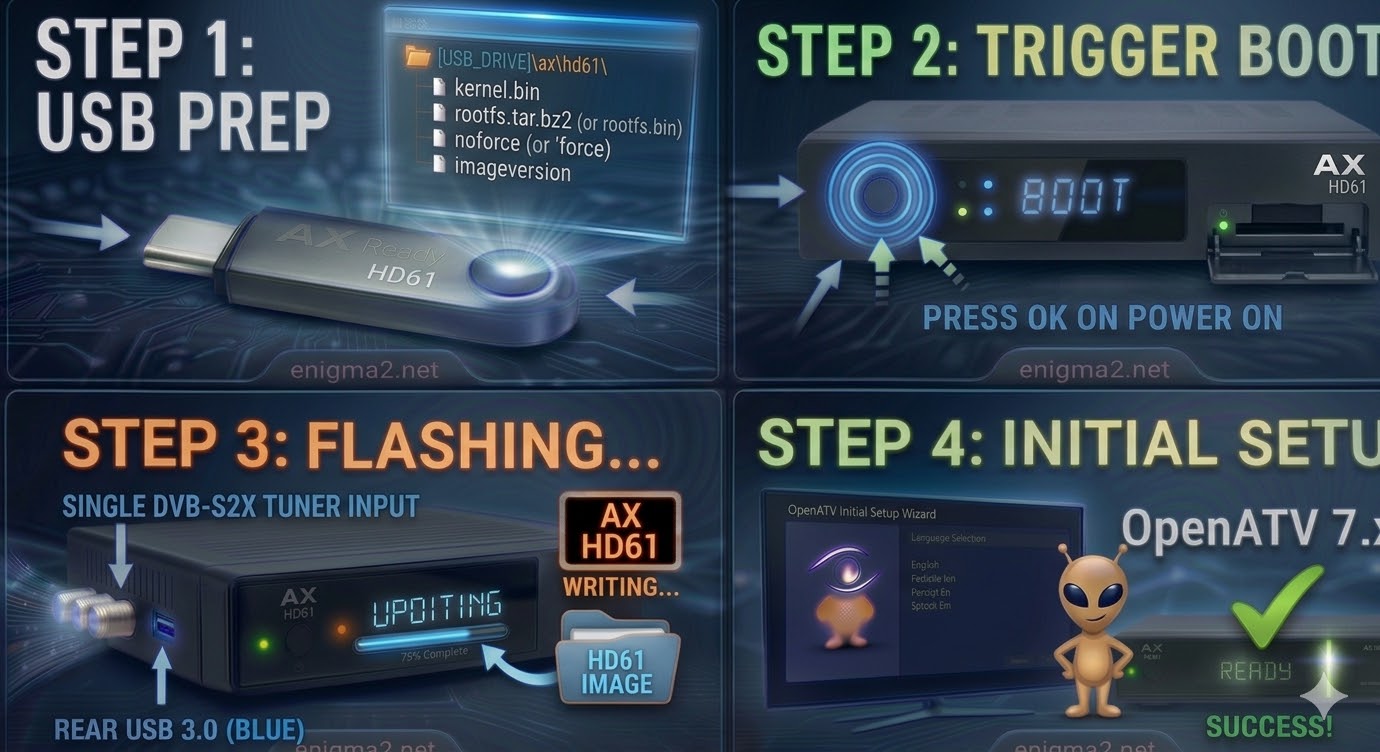
[HOW TO FLASH] how to flash AMIKO Viper SLIM

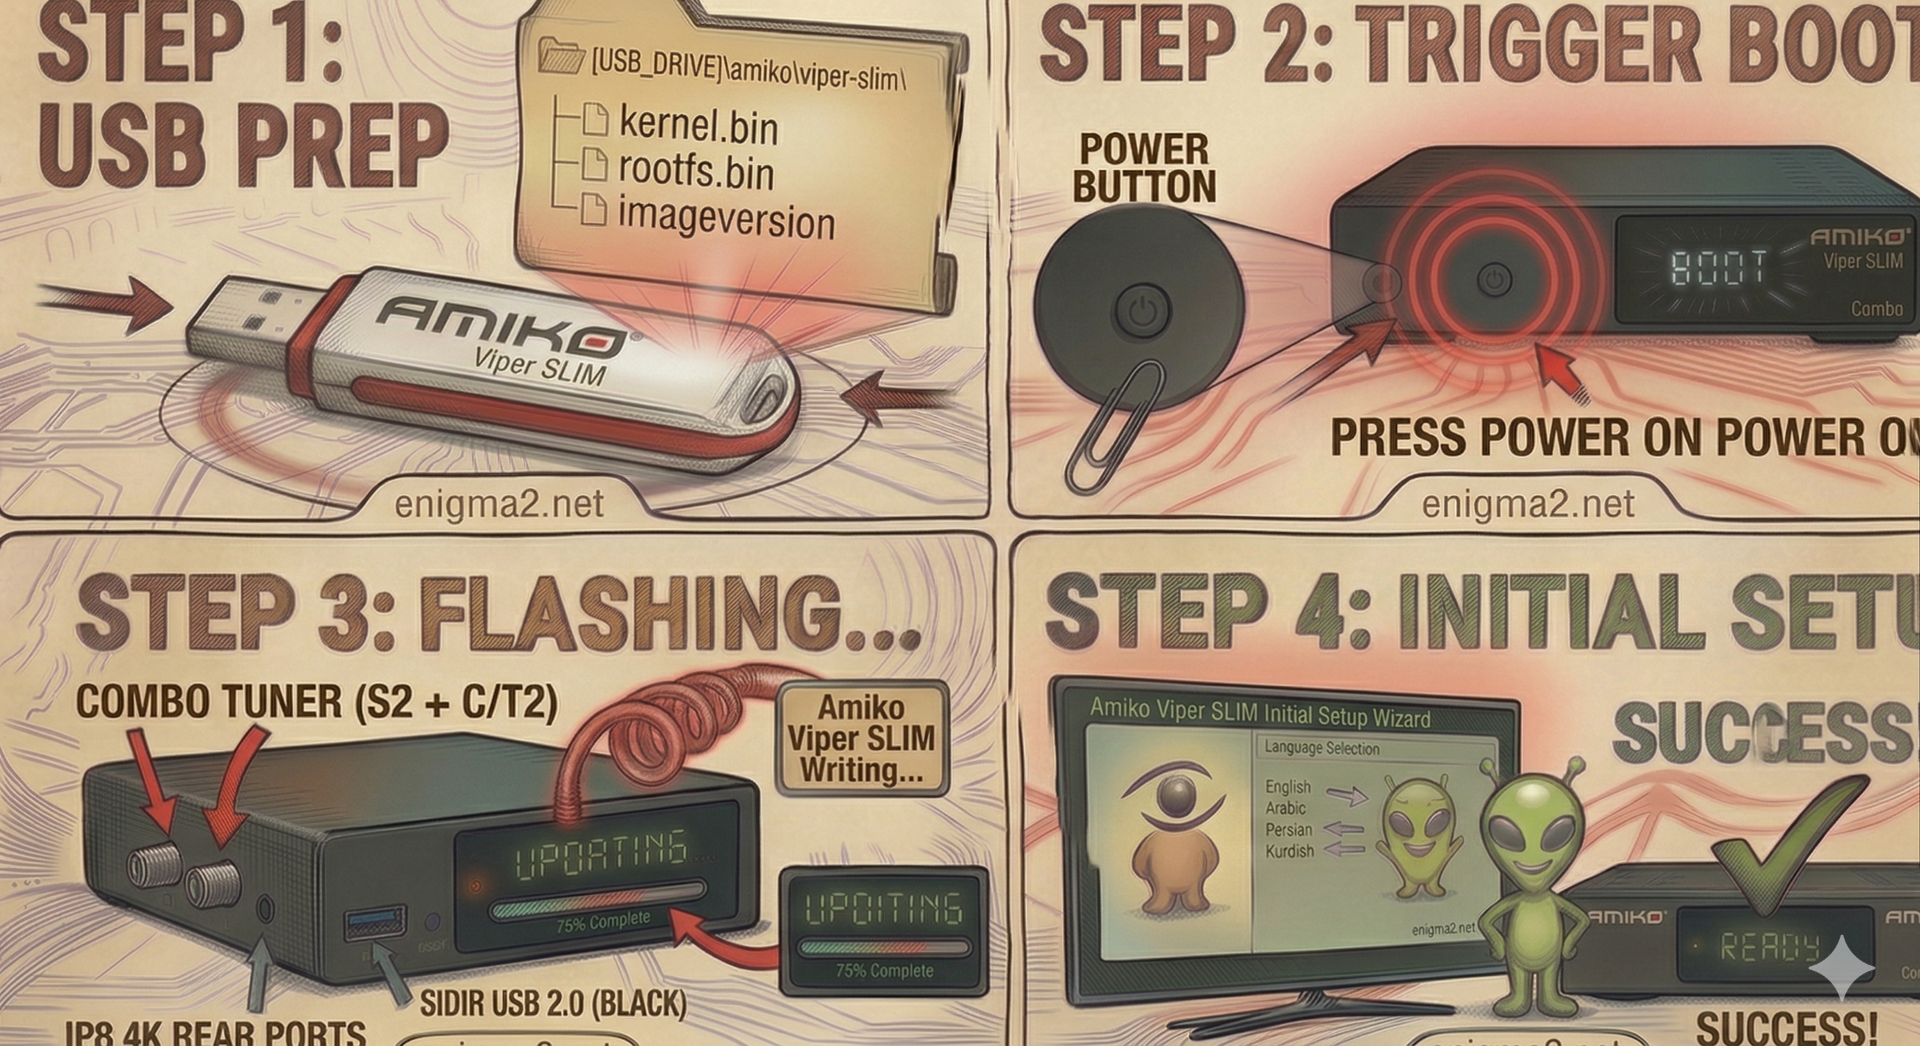
The Amiko Viper SLIM is one of the most compact Enigma2 receivers available. Because it is a Mipsel-based “micro” box, it relies on a specific folder-naming convention to trigger the flash process via USB.
Step 1: USB Preparation
-
Format: Use a high-quality USB 2.0 stick formatted to FAT32. (Older Mipsel boxes often prefer smaller drives, like 4GB or 8GB).
-
Folder Structure: When you extract your image (e.g., OpenATV, OpenPLi, or PurE2), you will see a folder named
amiko. -
Target Path: Inside the
amikofolder, there must be a subfolder namedviper-slim.-
Path check:
USB_DRIVE:\amiko\viper-slim\ -
Files: Ensure it contains
kernel.bin,rootfs.bin, andimageversion.
-
Step 2: The Flashing Procedure
-
Full Power Off: Unplug the external power adapter from the back of the Viper SLIM.
-
Insert USB: Plug the prepared USB stick into the side USB port.
-
The Trigger:
-
Plug the power cable back in.
-
Watch the front LED display or your TV screen.
-
As soon as the display shows “UPDT” or “USB,” quickly press the Power button (on the front of the unit or the remote, depending on the specific revision).
-
-
Wait for Progress: The LED will cycle or show a progress indicator. This usually takes 3–5 minutes. Do not unplug the power.
-
Finish: When the box displays “Success” or reboots, remove the USB drive during the first boot logo.

The flashing process should take approximately two to four minutes to complete, while the receiver
is being flashed it is vitally important that you DO NOT power the receiver down for any reason as
this can cause serious and or permanent damage.