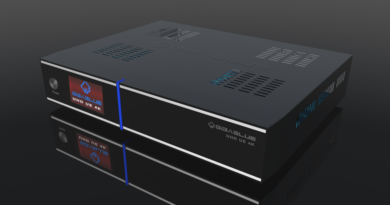
[HOW TO FLASH] how to flash Miraclebox Premium Micro V2

To flash the Miraclebox Premium Micro V2, you will follow the standard procedure for the Premium series. This model is an ultra-compact version that often uses an external IR sensor, but the flashing logic remains consistent with the Broadcom-based bootloader.
1. Preparation
-
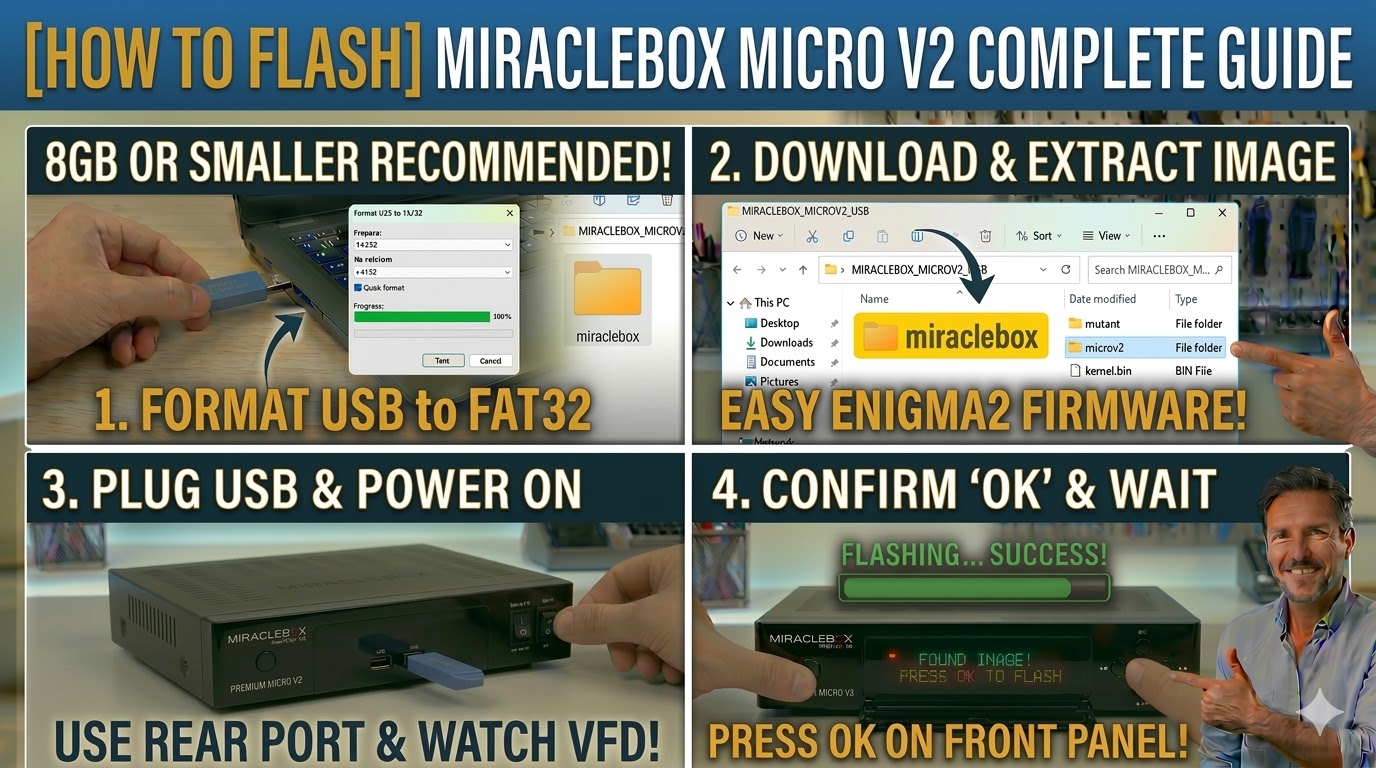
USB Stick: A high-quality USB stick (8GB or smaller is recommended).
-
Format: The stick must be formatted to FAT32.
-
Firmware: Download the image specifically for the Micro V2 (e.g., OpenATV, OpenPLi).
2. Folder Structure
The bootloader identifies the image via the specific model subfolder.
-
Extract the firmware
.zipfile on your computer. -
You will see a folder named
miraclebox. -
Copy the entire
miracleboxfolder to the root of your USB stick.-
Path:
USB:\miraclebox\microv2\ -
Contents: Inside the
microv2folder, you should see files likekernel.bin,rootfs.bin, andimageversion.
-
3. The Flashing Process
-
Power Off: Unplug the power lead from the back of the receiver.
-
Insert USB: Plug the USB stick into the rear USB port.
-
Power On: Plug the power lead back in.
-
Initiate Flash:
-
Watch the front panel LED or the TV screen (if it displays the boot logo).
-
When the front panel indicates a USB is found (often a prompt on the VFD or a color change in the LED), quickly press the Power button on the front panel (or the OK button if prompted) to confirm.
-
-
Wait: The flashing process will start. Do not interrupt the power.
-
Completion: The receiver will reboot automatically once the process hits 100%.

The flashing process should take approximately two to four minutes to complete, while the receiver
is being flashed it is vitally important that you DO NOT power the receiver down for any reason as
this can cause serious and or permanent damage.