[HOW TO FLASH] how to flash Miraclebox Premium Mini Hybrid
To flash the Miraclebox Premium Mini Hybrid, you will use the same reliable method as the other models in the Premium range. This specific version is designed for both satellite and cable/terrestrial use, and the bootloader requires its own unique subfolder name to initiate the flash.
1. Preparation
-
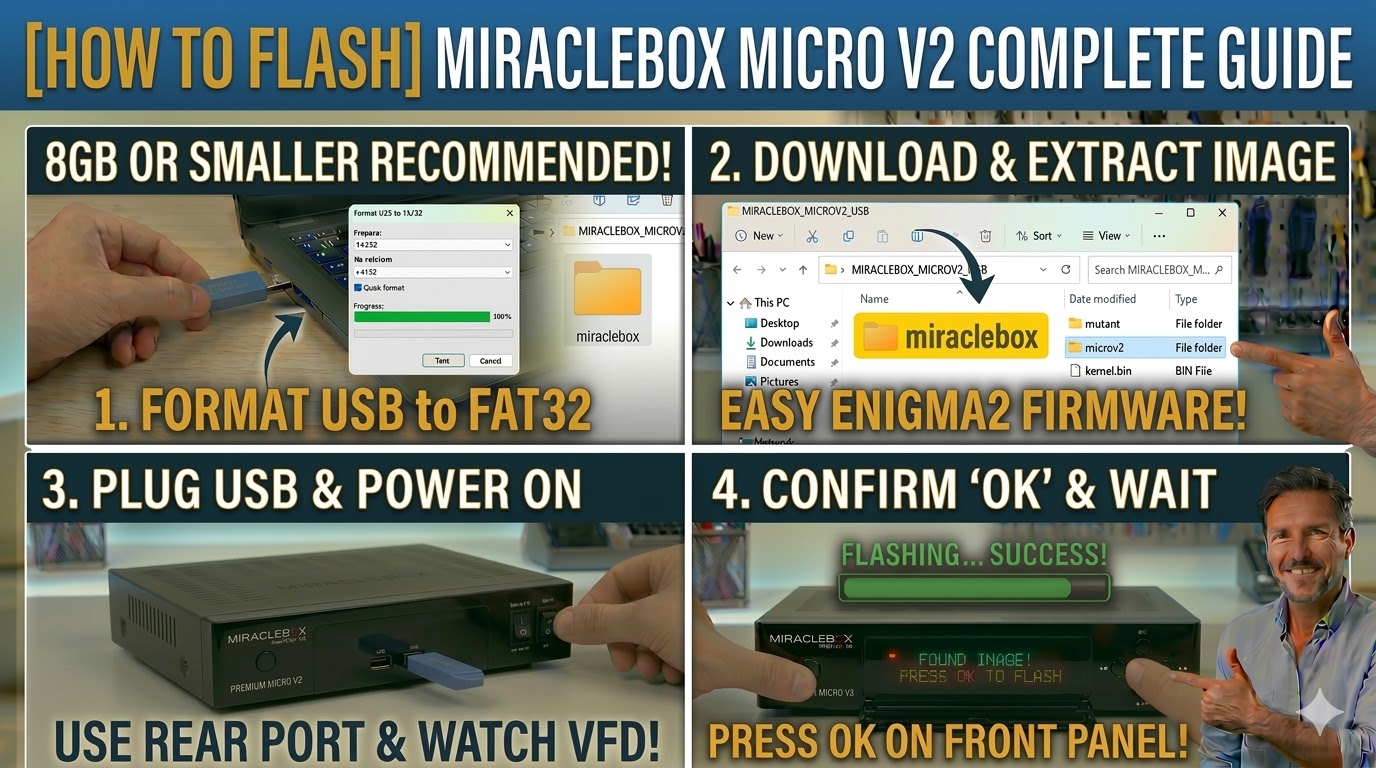
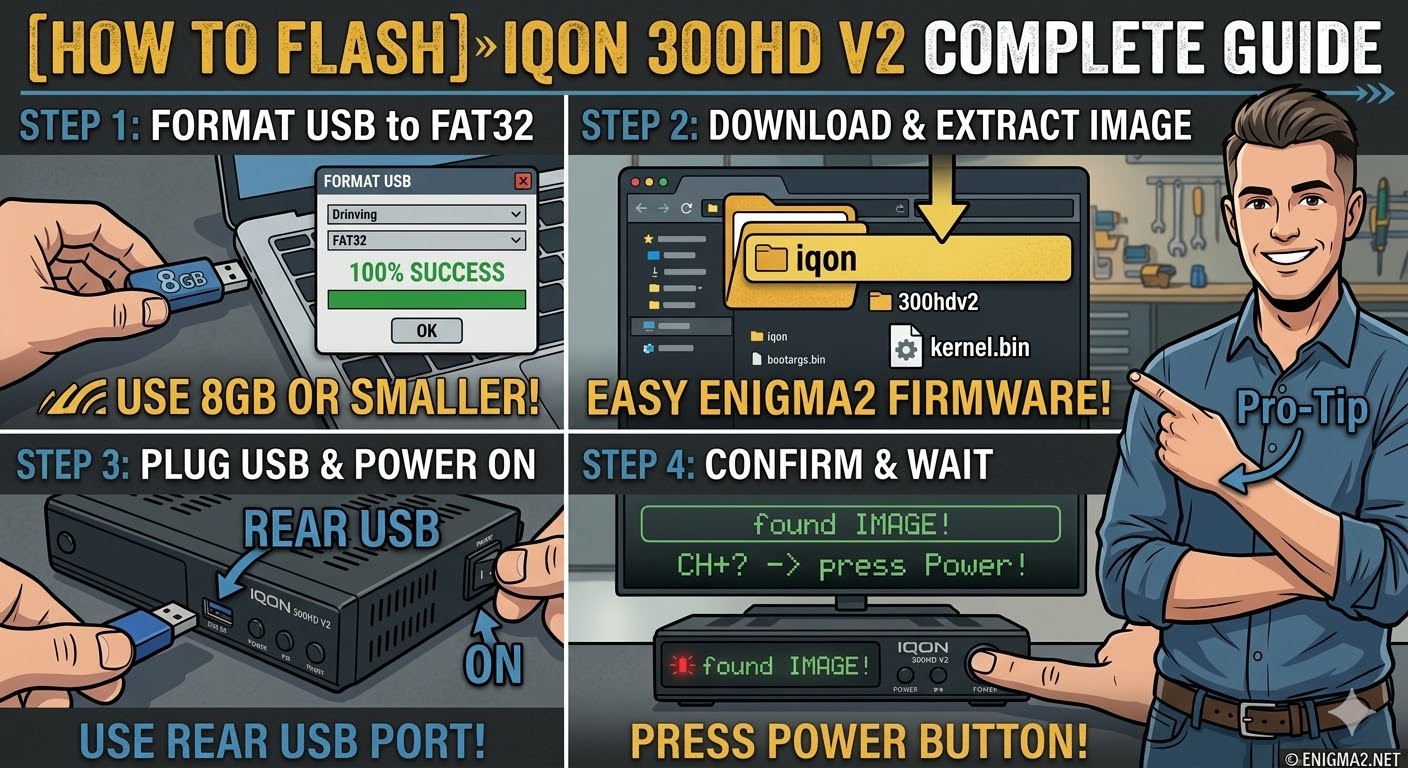
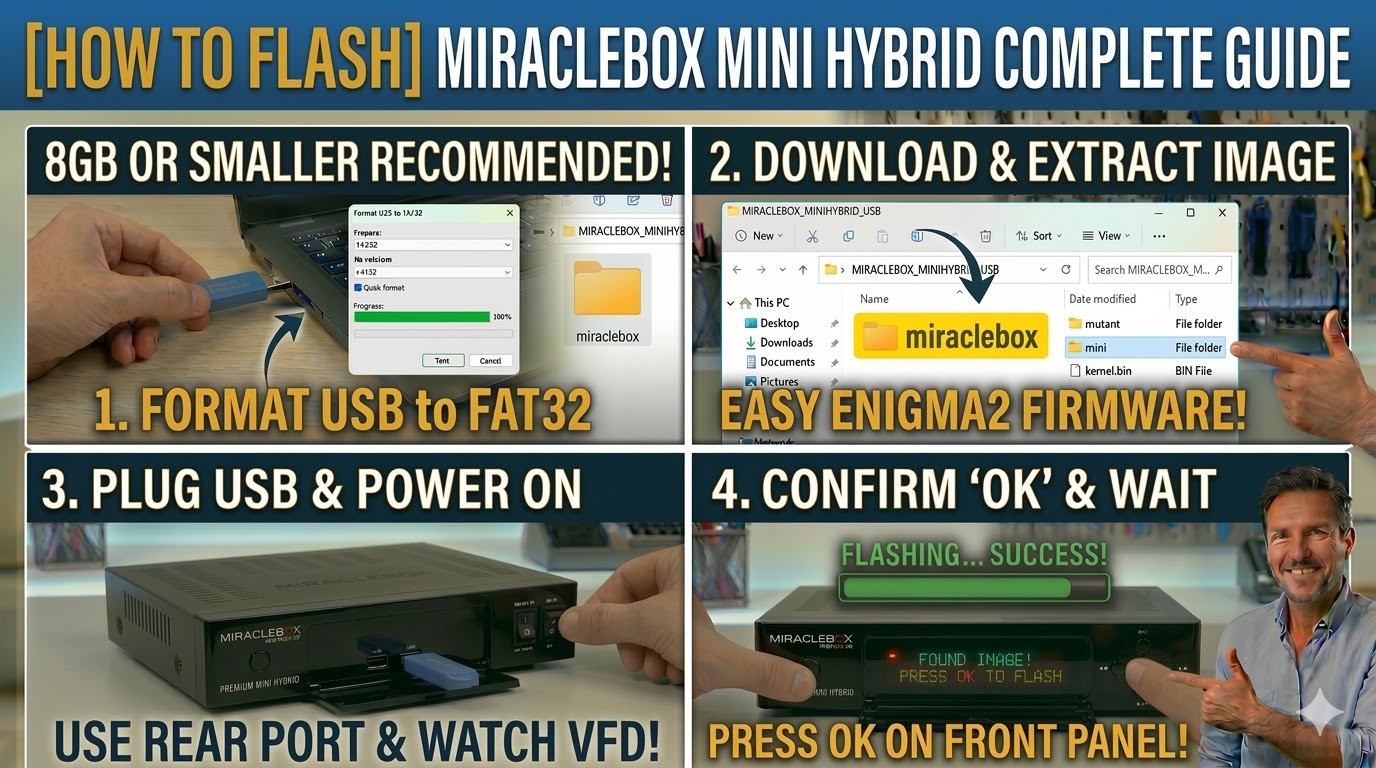
USB Stick: A high-quality USB 2.0 or 3.0 stick (8GB or smaller is recommended).
-
Format: Must be formatted to FAT32.
-
Firmware: Download the image specifically for the Mini Hybrid (e.g., OpenATV, OpenPLi).
2. Folder Structure
The receiver looks for the manufacturer directory and the “mini” subfolder.
-
Extract the firmware
.zipfile. -
You will see a folder named
miraclebox. -
Copy the entire
miracleboxfolder to the root of your USB stick.-
Path:
USB:\miraclebox\mini\ -
Contents: Inside the
minisubfolder, you should see files likekernel.bin,rootfs.bin, andimageversion.
-
3. The Flashing Process
-
Power Off: Turn off the receiver using the power switch at the back (or unplug the power lead).
-
Insert USB: Plug the USB stick into the rear USB port.
-
Power On: Turn the power back ON.
-
Initiate Flash:
-
Watch the front panel VFD display.
-
When the message “Found Image! Press OK to flash” appears, quickly press the OK button on the front panel.
-
-
Wait: The display will show the progress. Do not turn off the power during this stage.
-
Completion: The receiver will reboot automatically. Once it reaches the “Startup Wizard,” you can safely remove the USB stick.

The flashing process should take approximately two to four minutes to complete, while the receiver
is being flashed it is vitally important that you DO NOT power the receiver down for any reason as
this can cause serious and or permanent damage.