[HOW TO FLASH] how to flash Opticum AX-Odin

To flash the Opticum AX-Odin, the procedure follows the standard Broadcom-chipset rules. Because this is a compact receiver, the front panel button timing and the specific folder structure are essential.
Preparation
-
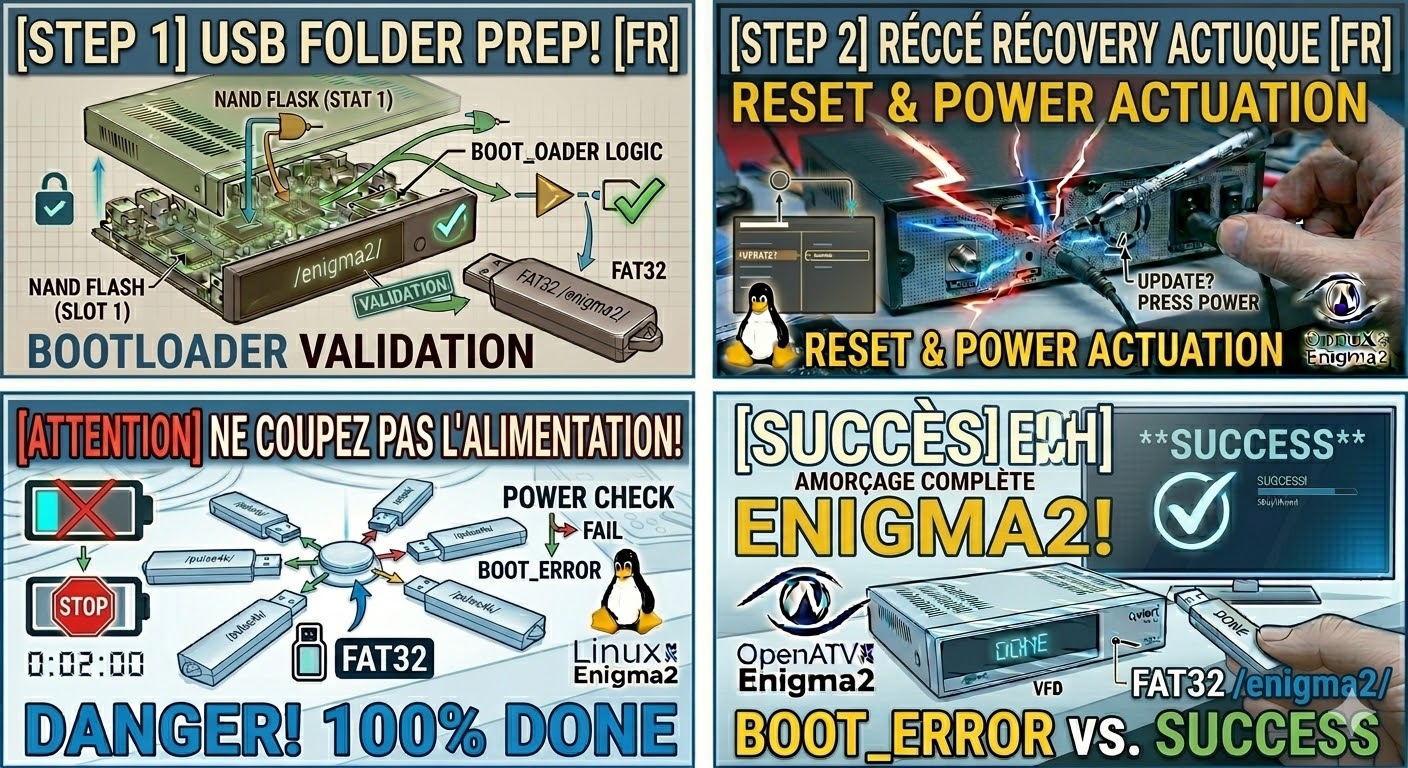
USB Drive: Use a USB 2.0 stick (8GB or smaller) formatted to FAT32.
-
Download Image: Get the firmware for the AX-Odin (OpenATV is the most popular choice for this model).
-
Extract Files: Unzip the file. You will see a folder named
odin. -
Copy to USB: Transfer the
odinfolder to the root of your USB stick.-
Structure:
USB Stick -> odin -> ax -> (image files: kernel.bin, rootfs.bin, etc.).
-
The Flashing Process
-
Power Off: Turn off the receiver using the physical power switch at the back.
-
Insert USB: Plug the USB stick into the rear USB port (the AX-Odin often reads more reliably from the back during boot).
-
Power On: Flip the rear power switch to ON.
-
Initiate Flash:
-
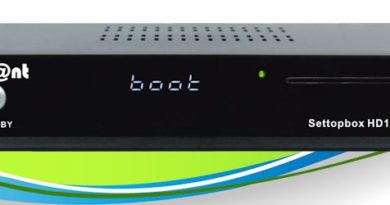
Watch the front panel LED display.
-
When you see the prompt “UPDT” or “Update?”, press the Standby/Power button on the front panel immediately.
-
-
Wait: The display will show the progress. Do not cut the power until the process reaches 100% and the box reboots.
-
Complete: Once the setup wizard appears on your TV screen, you can safely remove the USB stick.
Key Tips for AX-Odin
-
Folder Name Check: Note that for the AX model, the subfolder inside
odinmust be namedax. If it is namedtwinorm7, the box will ignore it. -
Force Update: If you have trouble with the front button, go to the
axfolder on your USB, find the filenoforce, and rename it toforce. The receiver will then flash automatically upon power-on. -
USB Sensitivity: This model can be very picky about USB brands. If it ignores the USB and boots to the old software, try an older, slower USB 2.0 drive.

The flashing process should take approximately two to four minutes to complete, while the receiver
is being flashed it is vitally important that you DO NOT power the receiver down for any reason as
this can cause serious and or permanent damage.