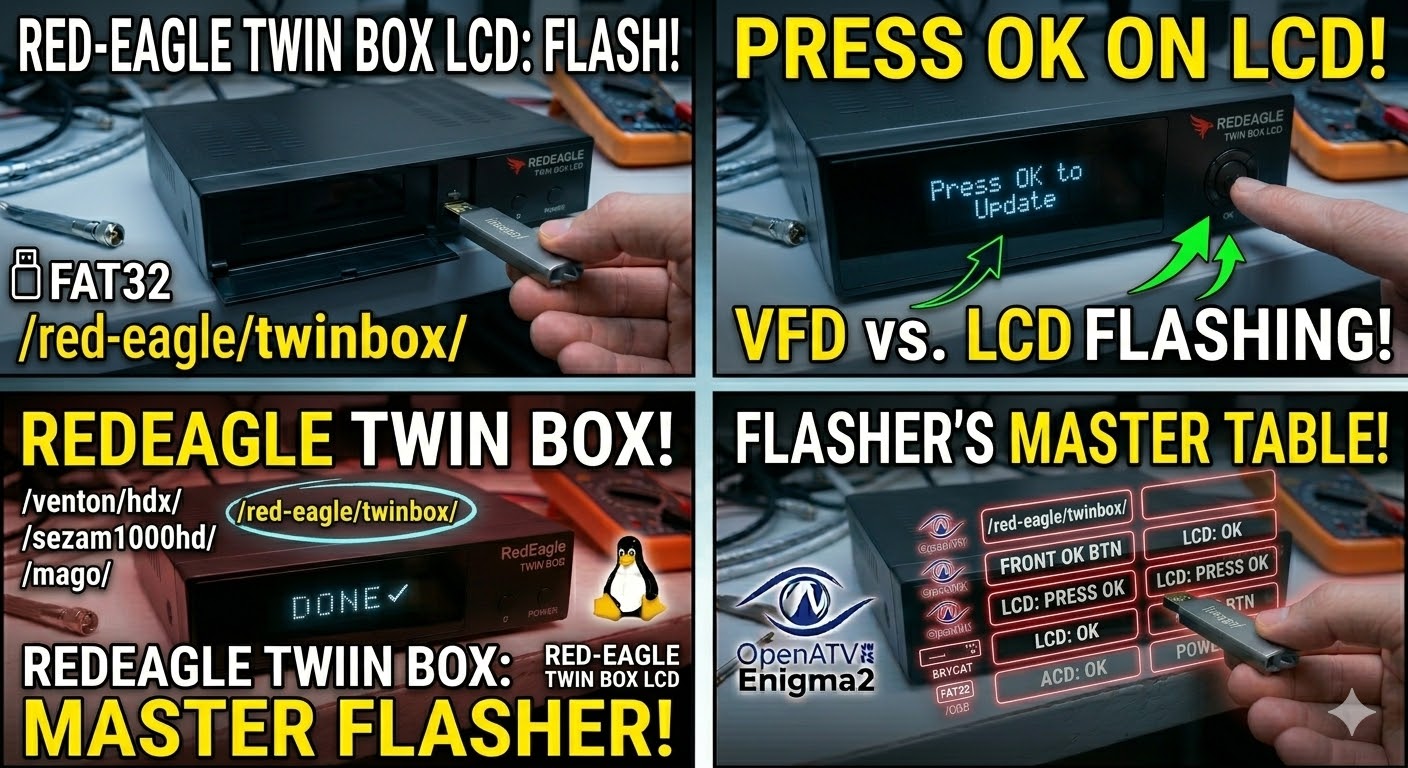
[HOW TO FLASH] how to flash RedEagle Twin Box LCD

To flash the RedEagle Twin Box LCD, you will use the same Enigma2 logic, but because this receiver features a built-in LCD screen, the feedback during the process is much clearer than on standard LED models.
Preparation
-
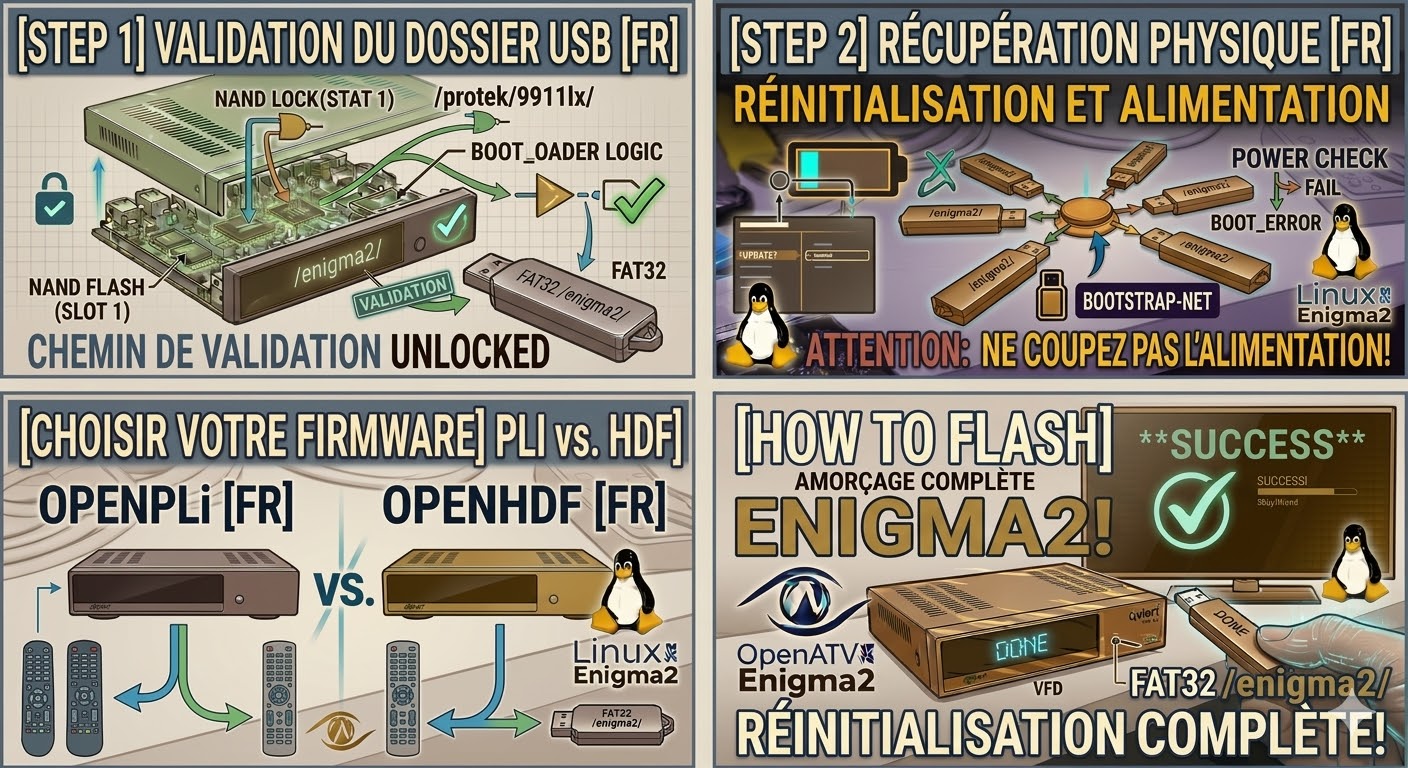
Format USB: Use a USB 2.0 stick (8GB or smaller), formatted to FAT32.
-
Download Image: Get the latest firmware (OpenATV, OpenHDF, or OpenViX) for the RedEagle Twin Box LCD.
-
Extract Files: Unzip the folder. You should see a folder named
red-eagle. -
Copy to USB: Transfer the entire
red-eaglefolder to the root of the USB stick.-
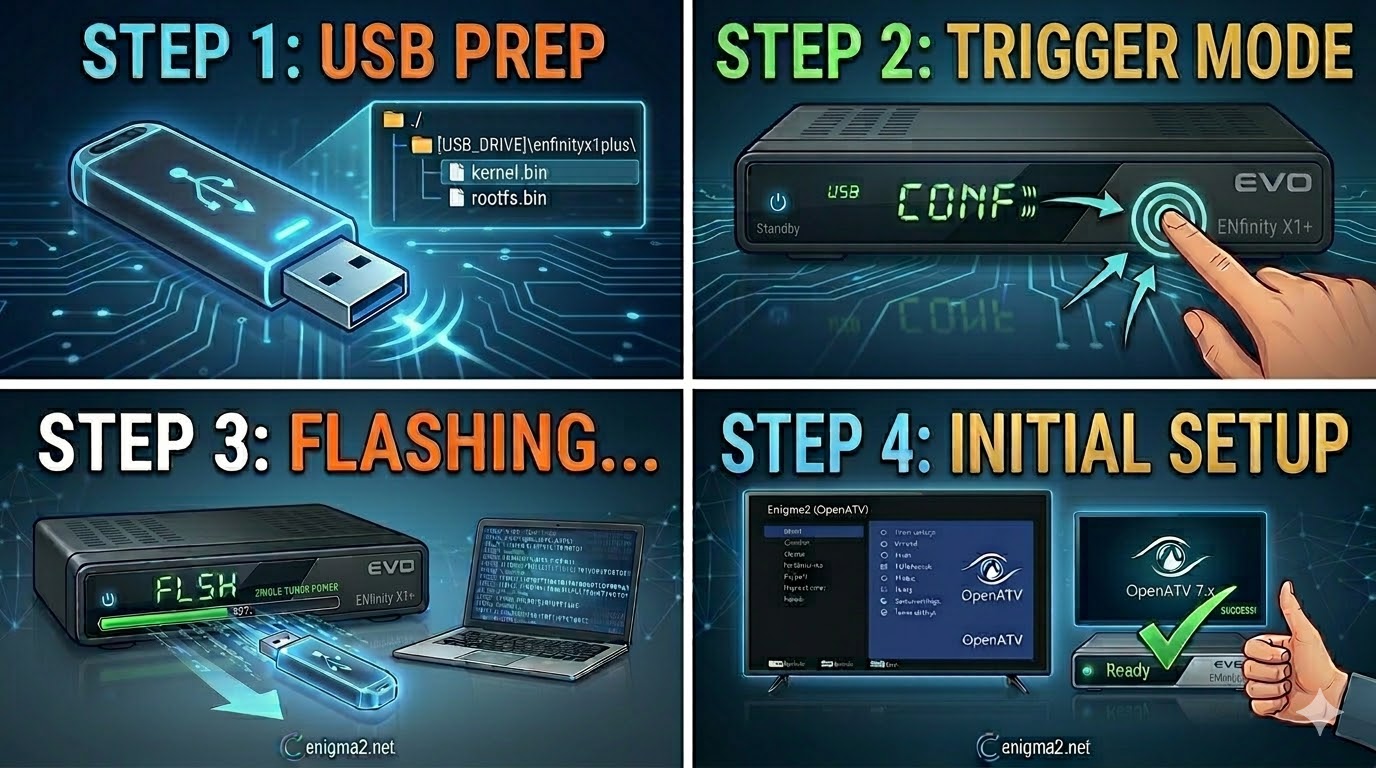
Structure:
USB Stick -> red-eagle -> twinbox -> (image files: kernel.bin, rootfs.bin, etc.).
-
The Flashing Process
-
Power Down: Turn off the receiver using the rear power switch.
-
Insert USB: Plug the USB stick into one of the rear USB ports (the rear ports are generally more stable for flashing this model).
-
Power On: Flip the rear power switch to ON.
-
Initiate Flash: * Watch the LCD screen on the front of the box.
-
When it displays “Press OK” or “Update?”, press the OK button located on the front panel (not the remote).
-
-
Wait: The LCD will display the flashing progress (e.g., “Flashing…”, “Writing…”). Do not turn off the power until the LCD says “Completed” or the box reboots.
-
Complete: The receiver will automatically reboot into the new image. Once the setup wizard appears, you can remove the USB.
Quick Tips
-
Button Timing: If the box boots directly into the old image, it didn’t “see” the USB or you missed the “OK” prompt. Try a different USB port or a different USB stick.
-
Force Flash: If you can’t reach the front panel buttons easily, rename the
noforcefile inside thetwinboxfolder toforce. The box will then flash automatically as soon as it powers on.
| Step | Action | LCD / Front Panel |
| 1 | Prepare USB | FAT32, folder: /red-eagle/twinbox/ |
| 2 | Insert & Power | Insert USB in rear port & flip power ON |
| 3 | Confirm Flash | When prompt appears, press OK on front |
| 4 | Wait | Stay powered on during the write cycle |
| 5 | Finish | Remove USB once the box reboots |

The flashing process should take approximately two to four minutes to complete, while the receiver
is being flashed it is vitally important that you DO NOT power the receiver down for any reason as
this can cause serious and or permanent damage.